GitHub Integration - Complete Setup Guide
Localit.io provides powerful GitHub integration, allowing you to automate localization workflow and synchronize translations directly with your repository. Both regular GitHub and GitHub Enterprise are supported.
Supported GitHub versions
GitHub.com (Public Cloud)
-
Standard integration with public and private repositories
-
Full feature support
-
Automatic webhooks
GitHub Enterprise
-
GitHub Enterprise Server support
-
Integration with corporate installations
-
Configuration through custom domains
-
Compatibility with corporate security policies
Initial integration setup
Step 1: Access settings
-
Open your project in Localit.io
-
Go to the "Integrations" section
-
Select GitHub from the list of available services

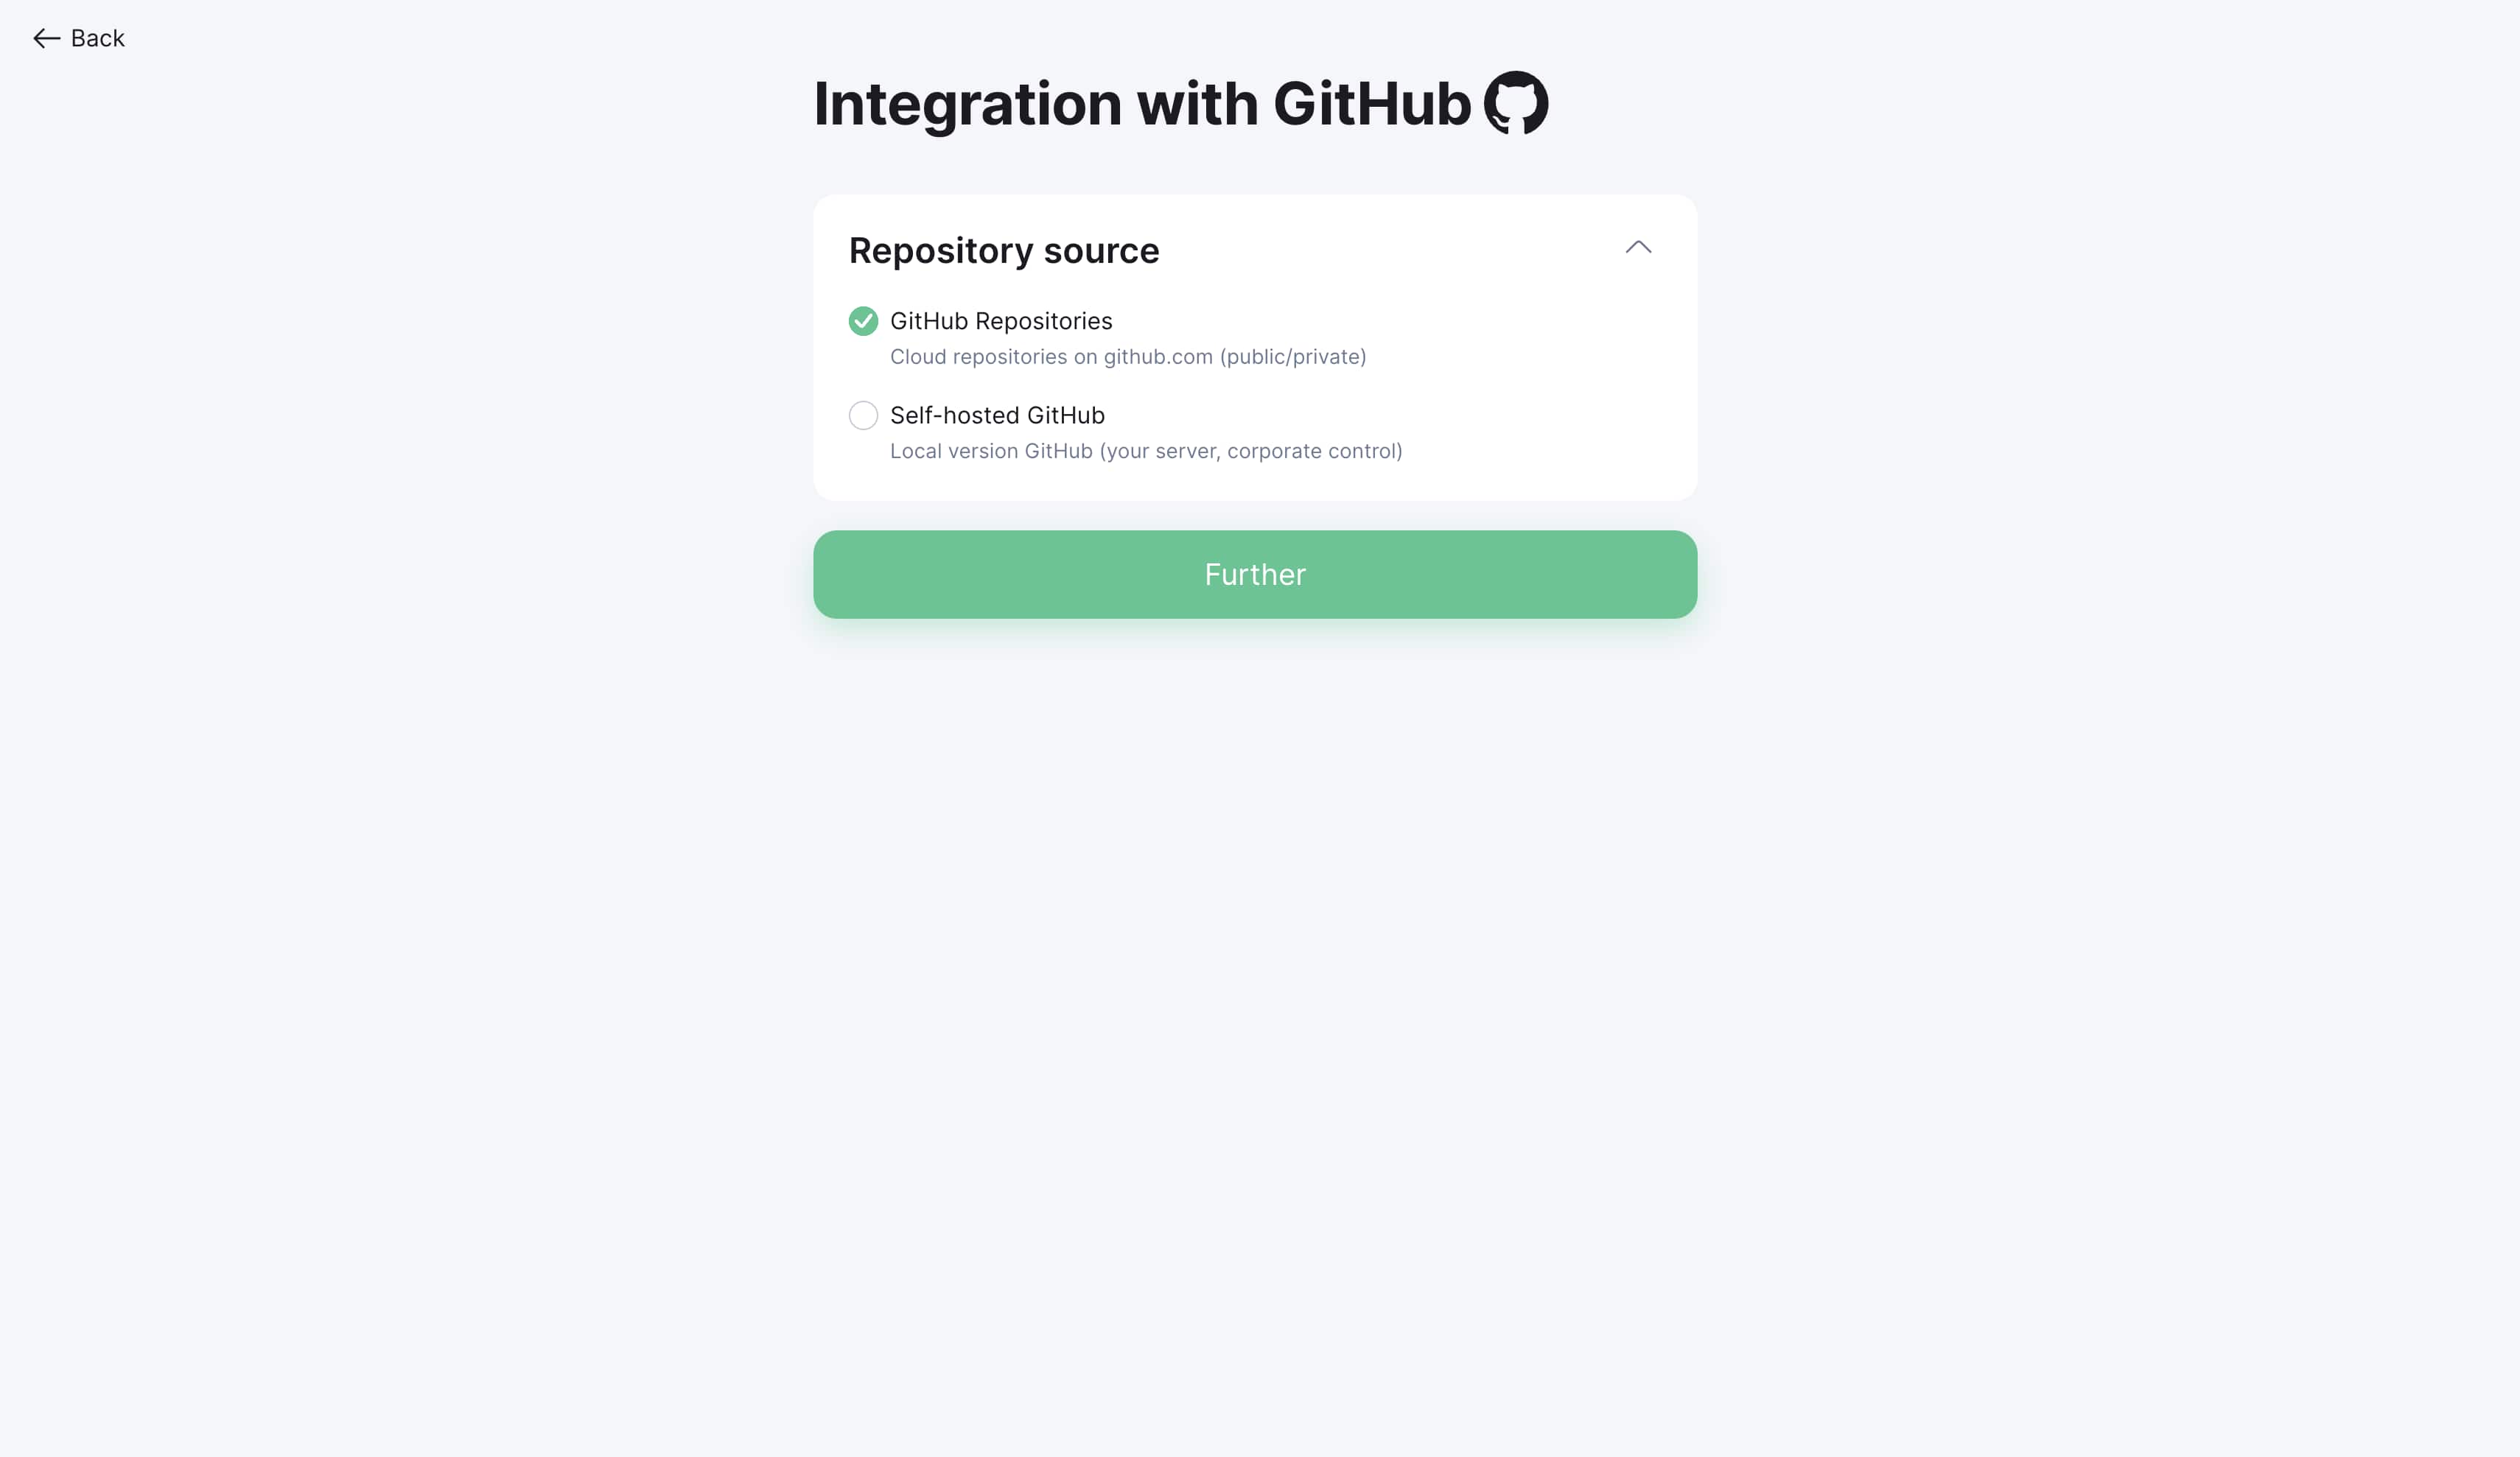
Step 2: Choose token type
GitHub offers two types of Personal Access Tokens:
-
Fine-grained tokens (Recommended) — new format with detailed permissions
-
Classic tokens — traditional format with broad permissions
Creating Fine-grained Personal Access Token
Step 1: Navigate to GitHub settings
-
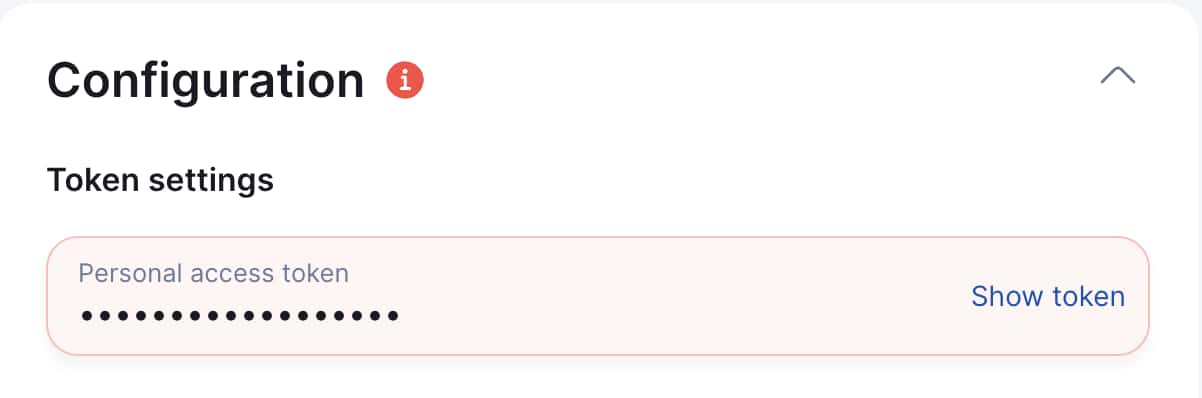
Click "Show token" in the Localit.io interface
-
GitHub Developer Settings page will open
-
Select "Fine-grained personal access tokens"
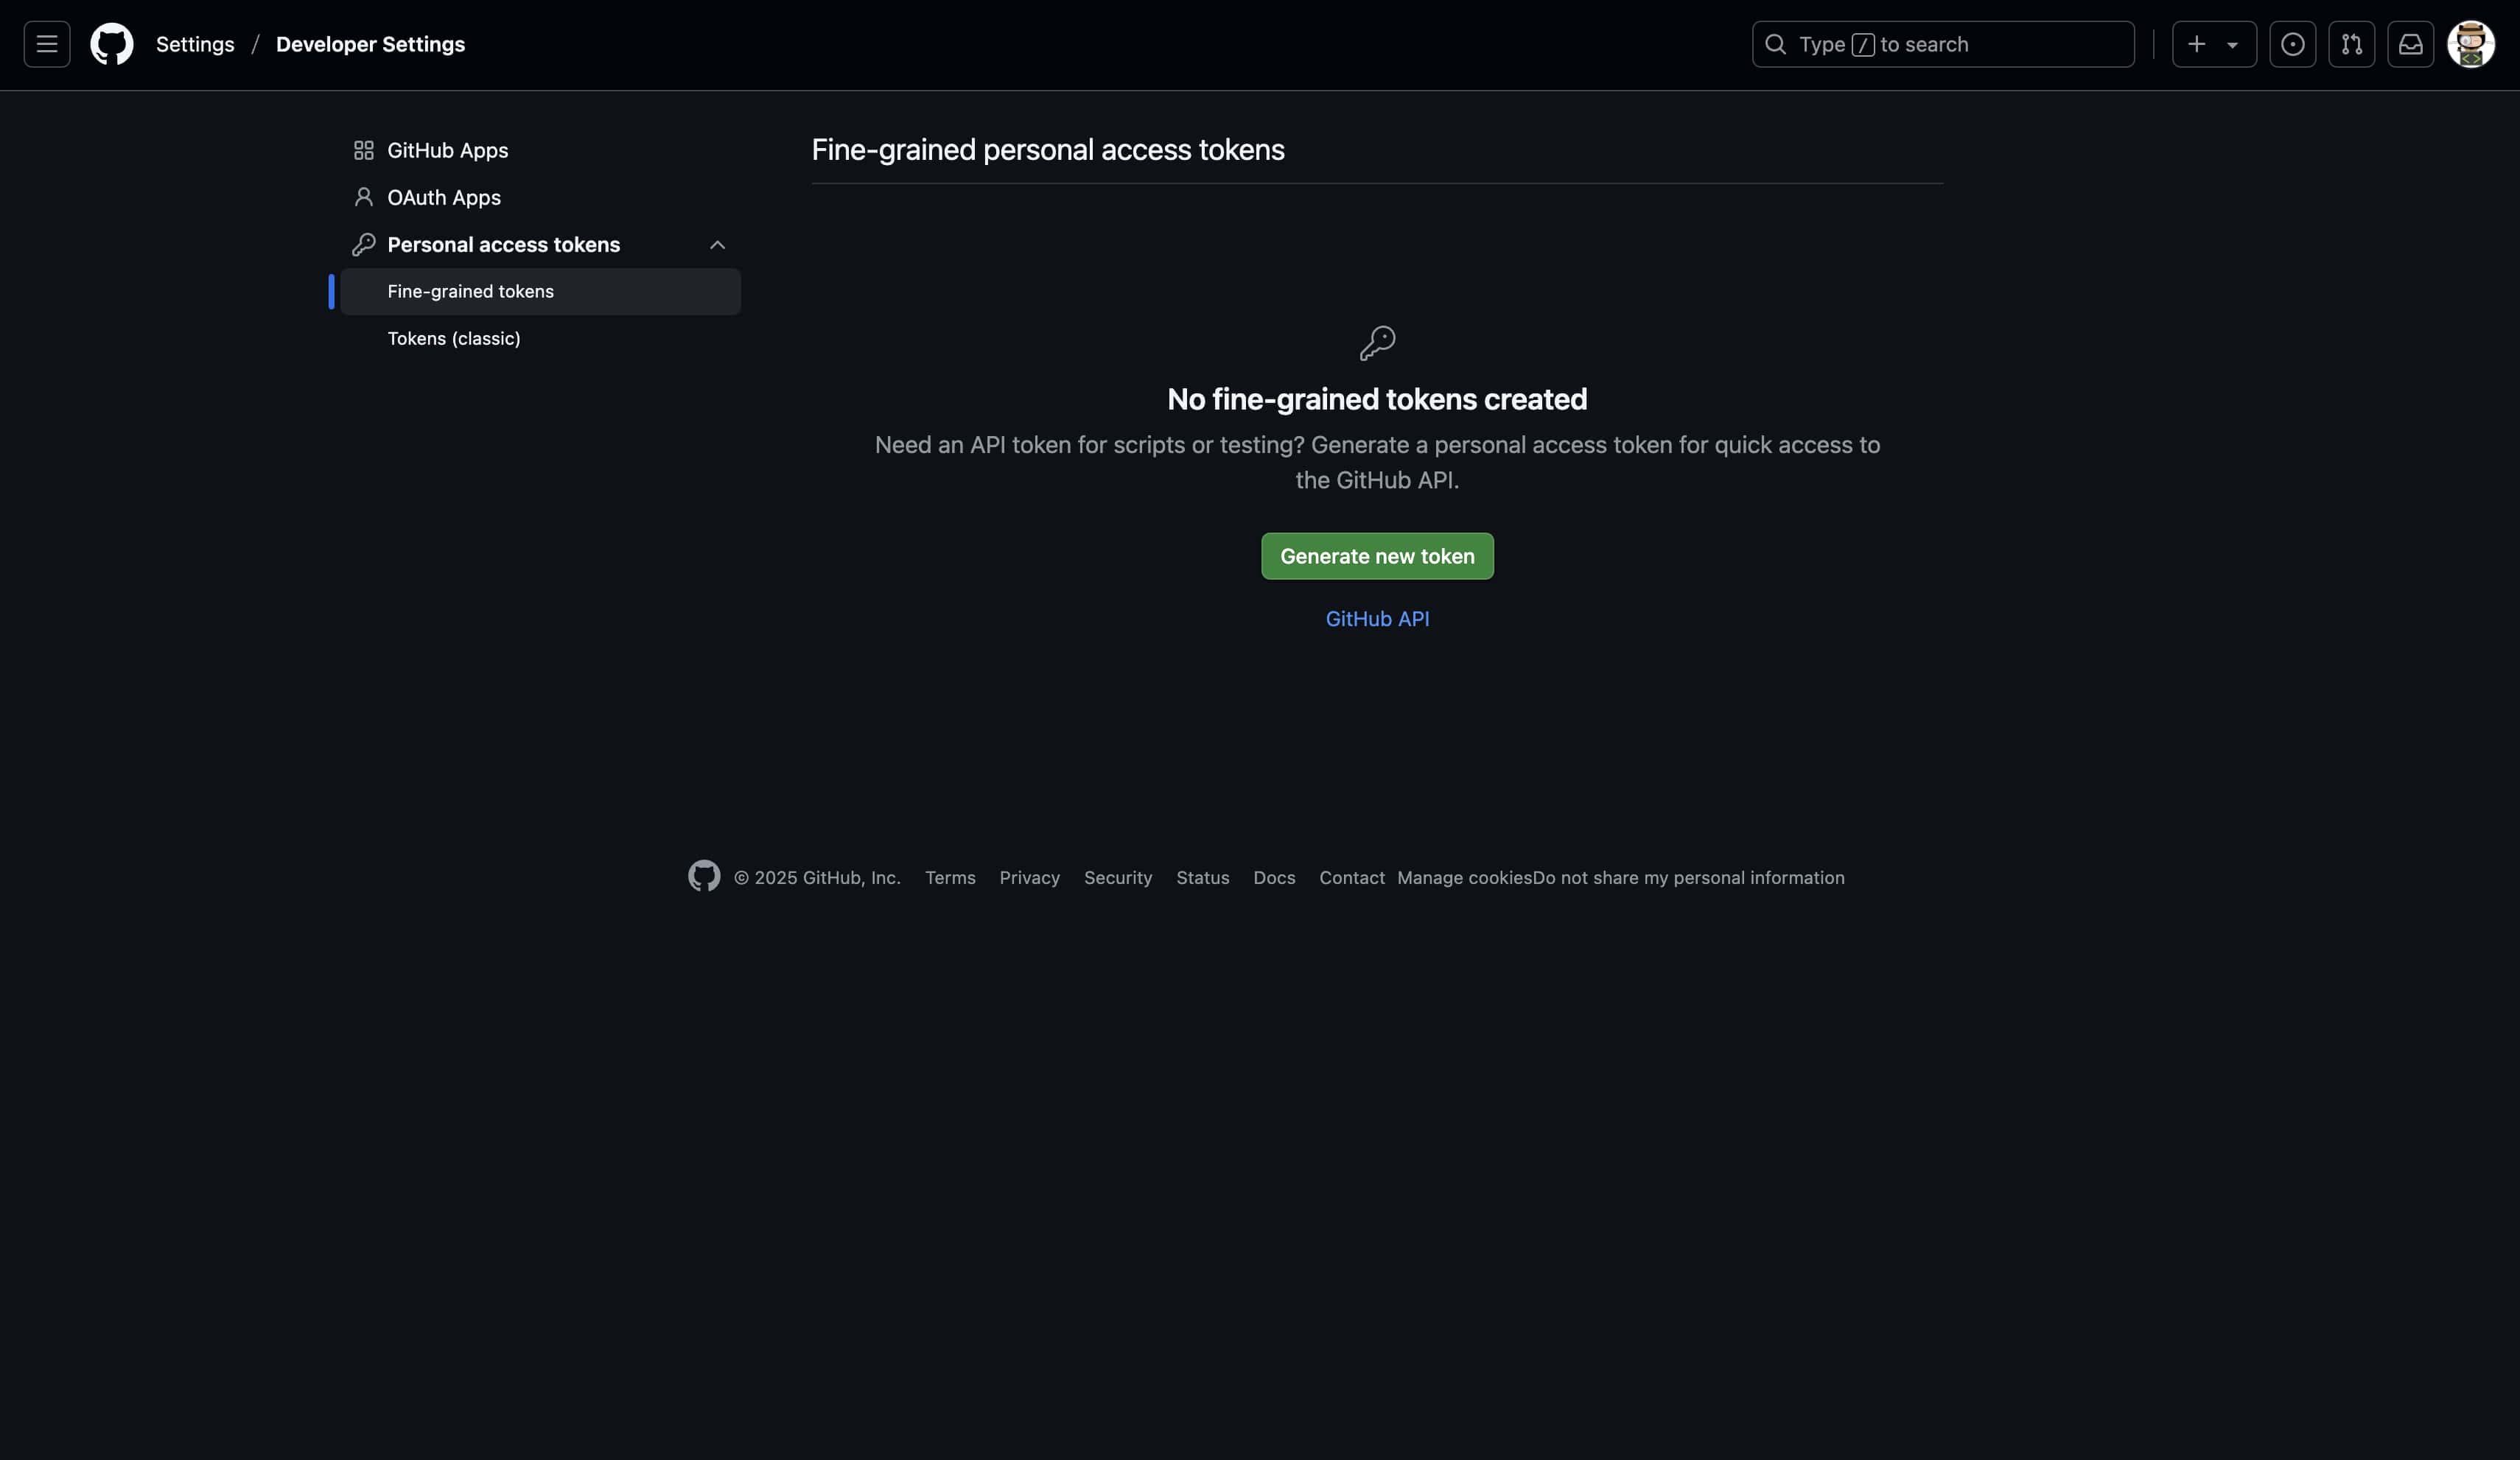
Step 2: Create new token
-
Click "Generate new token"
-
Fill in basic token information
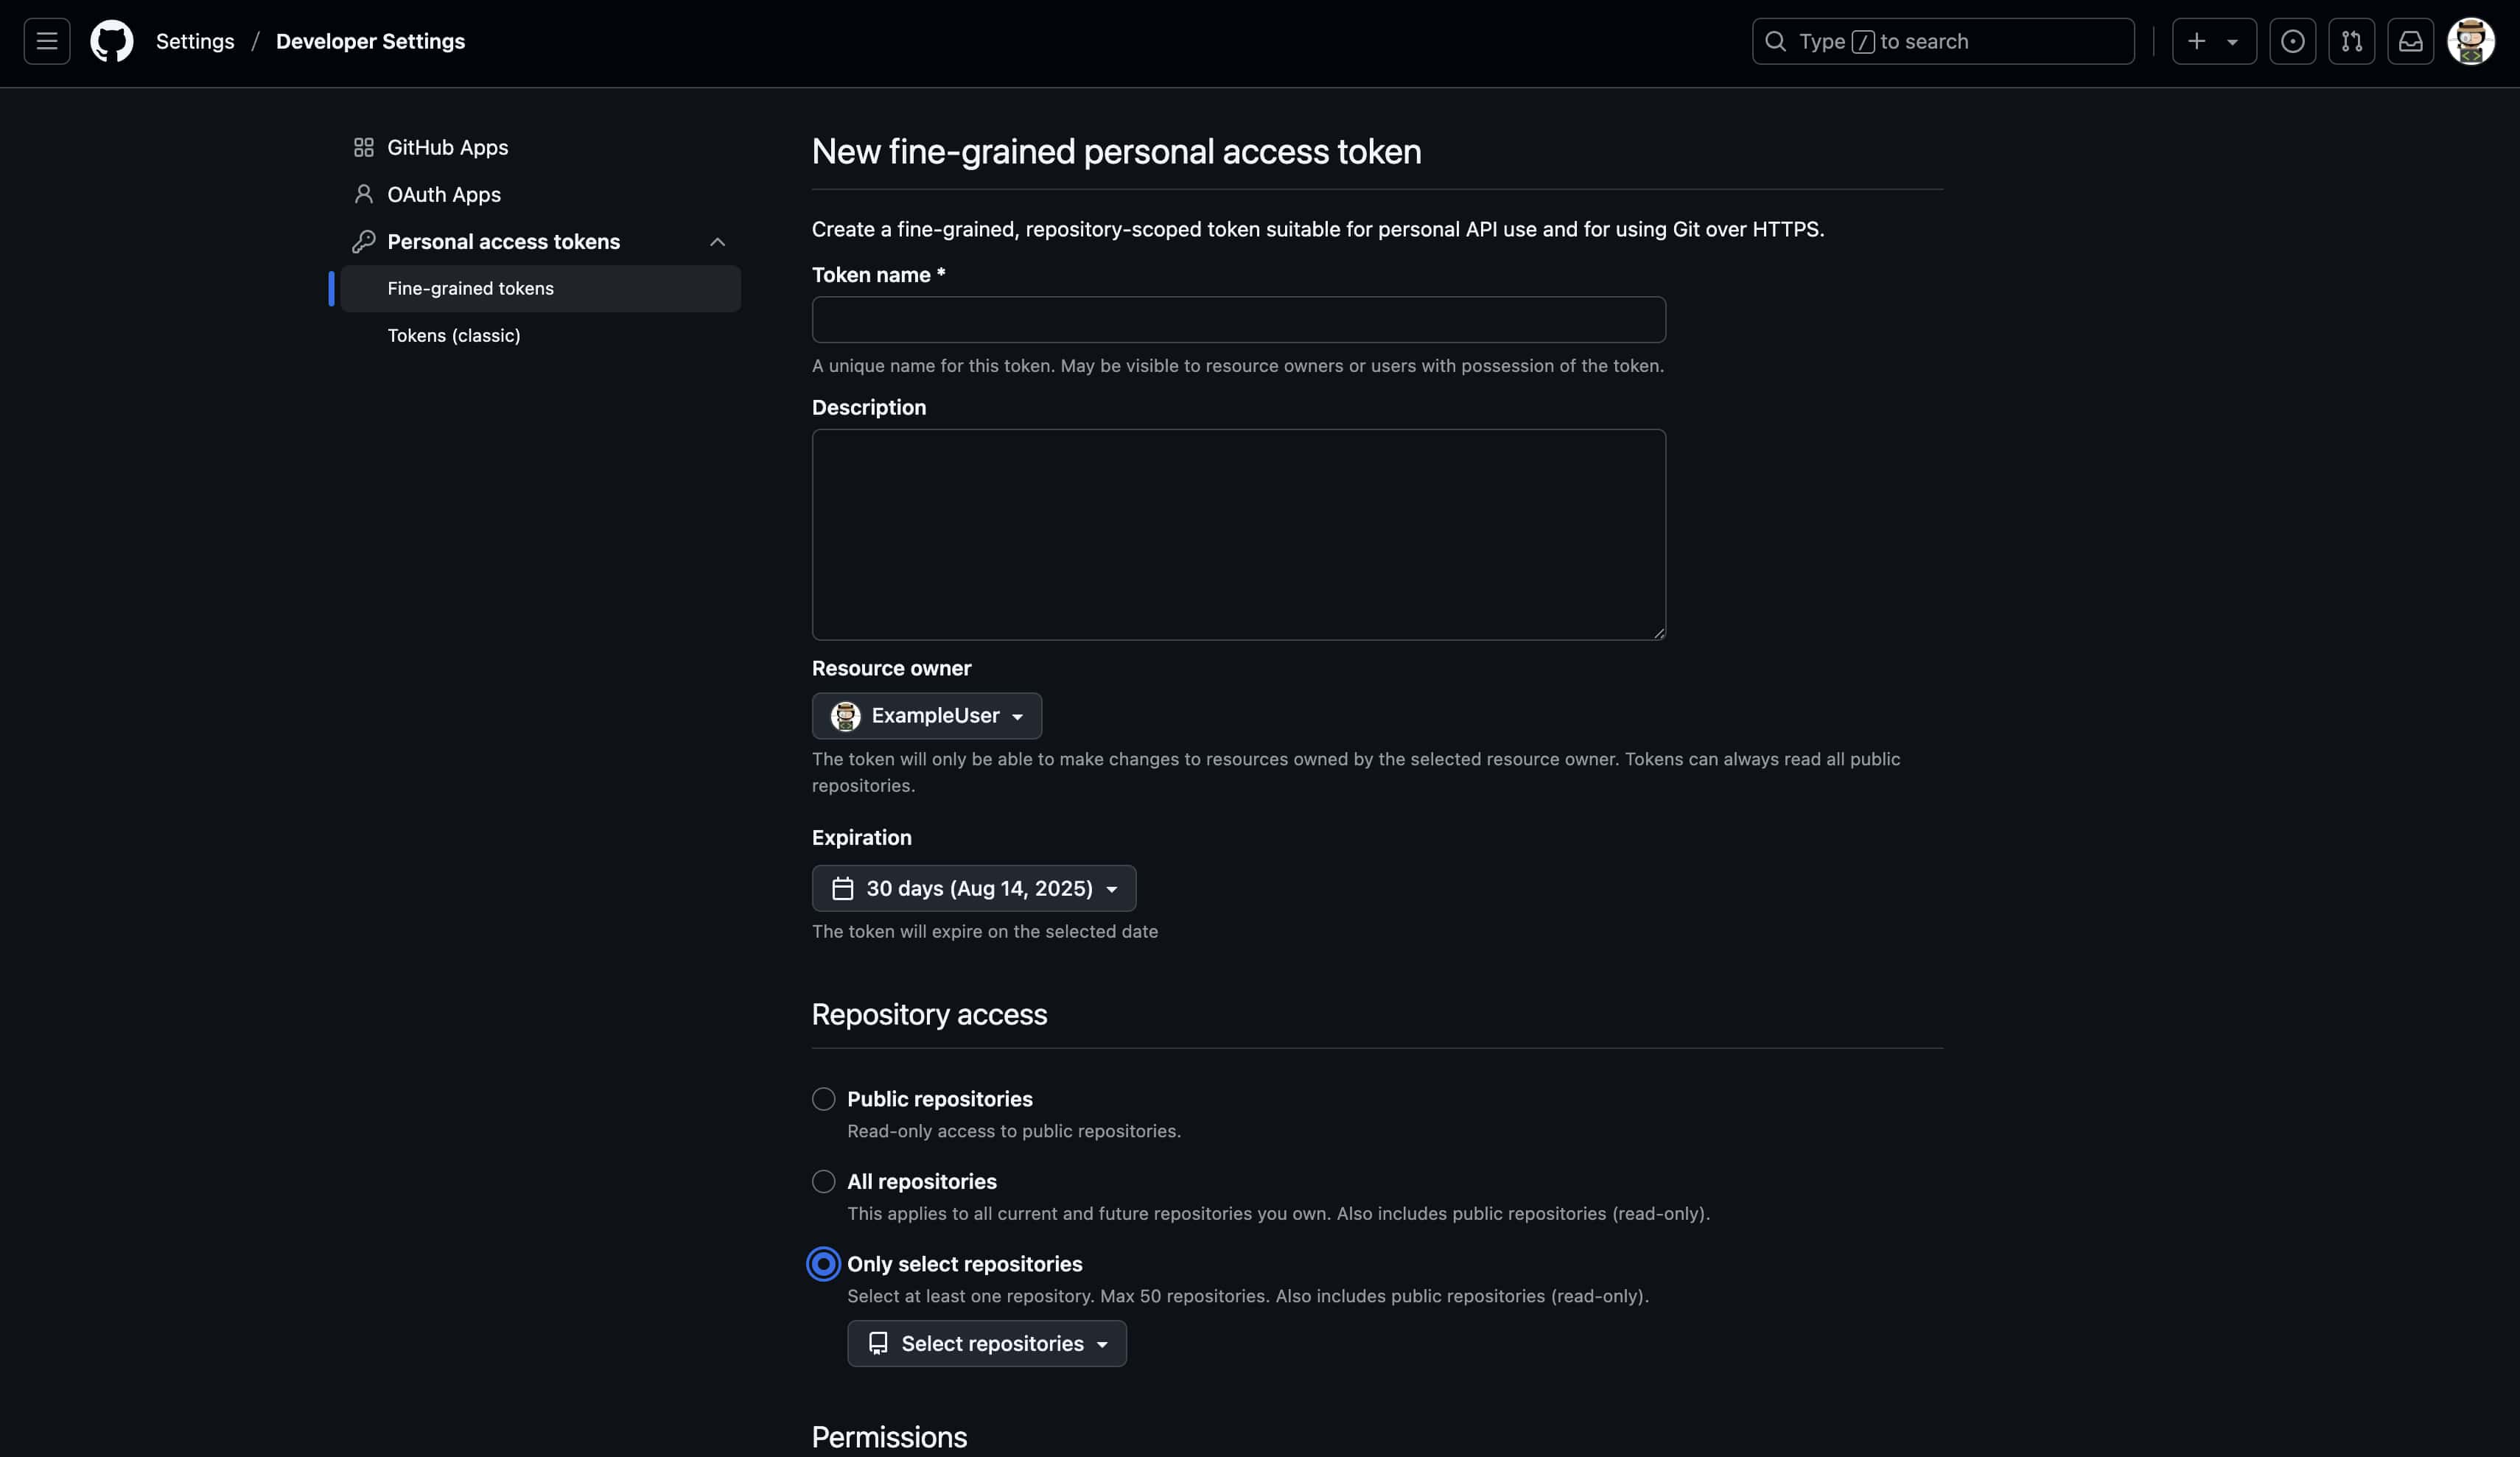
Step 3: Configure basic parameters
Token name: Localit.io Integration Expiration: No expiration (recommended) Description: Integration with Localit.io for automated localization workflow

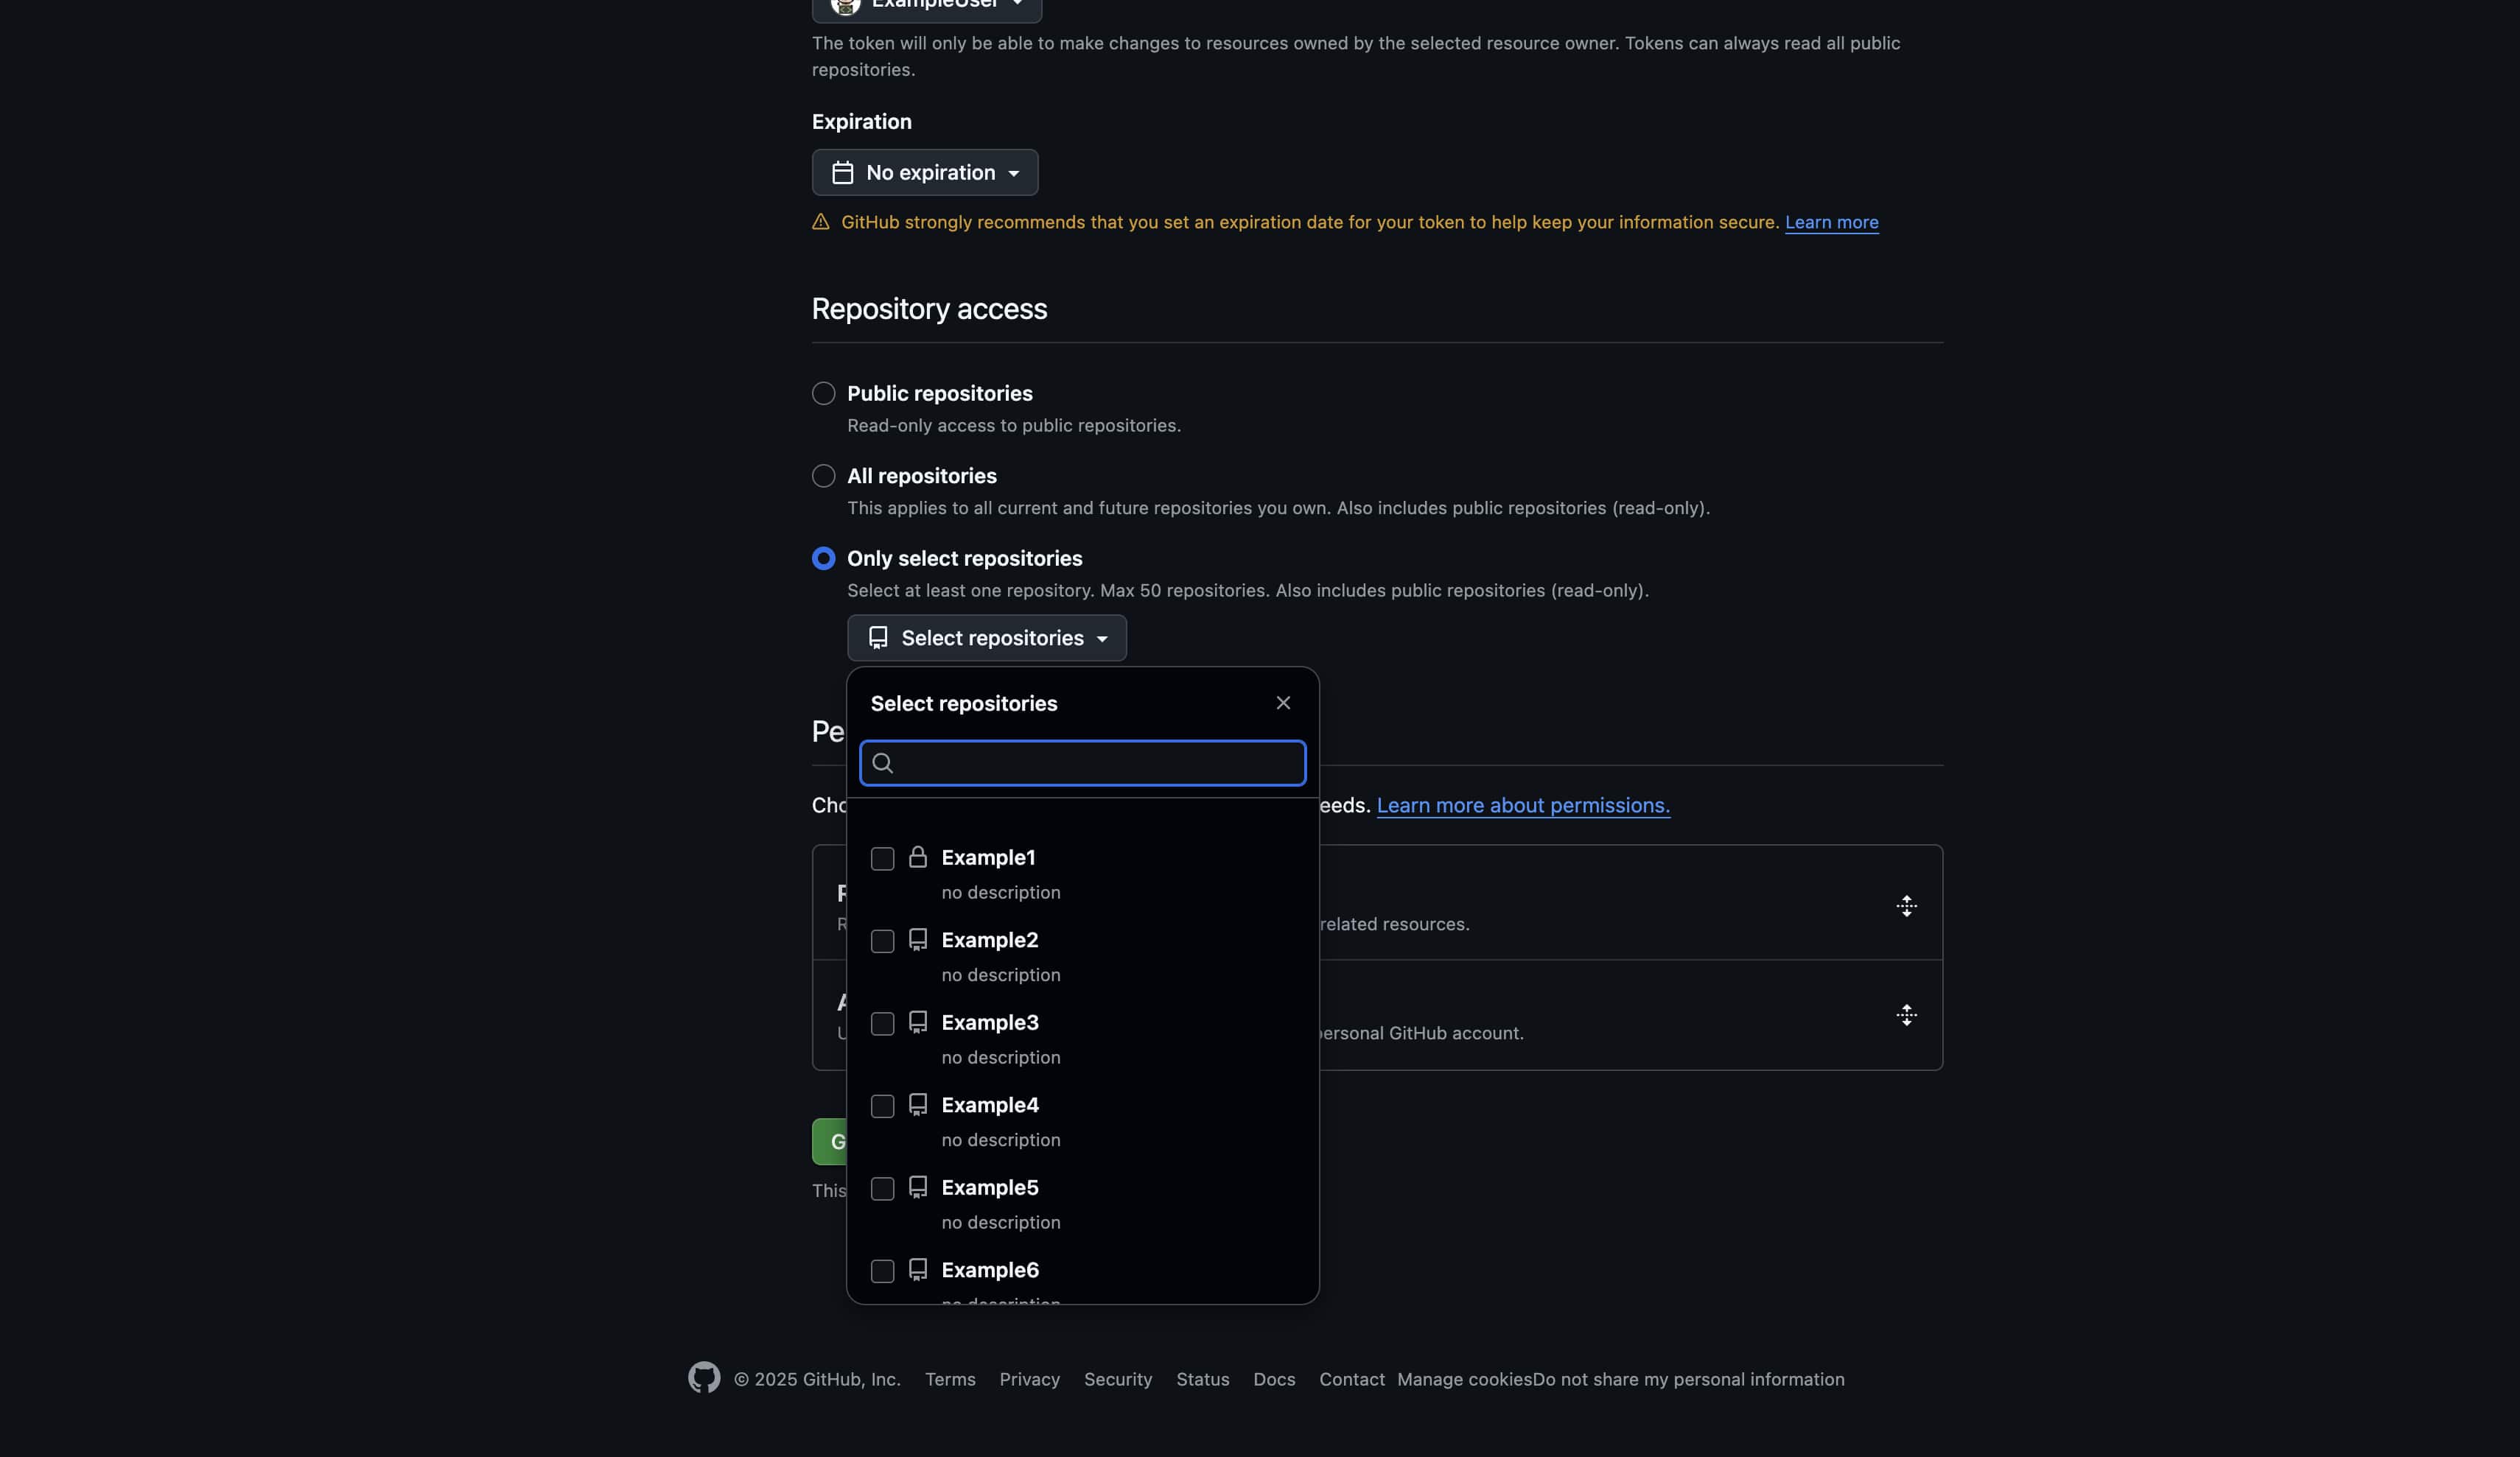
Step 4: Select repositories
Resource owner: Choose organization or personal account Repository access:
-
Selected repositories (Recommended) — choose specific repositories
-
All repositories — access to all repositories (less secure)
Step 5: Configure permissions
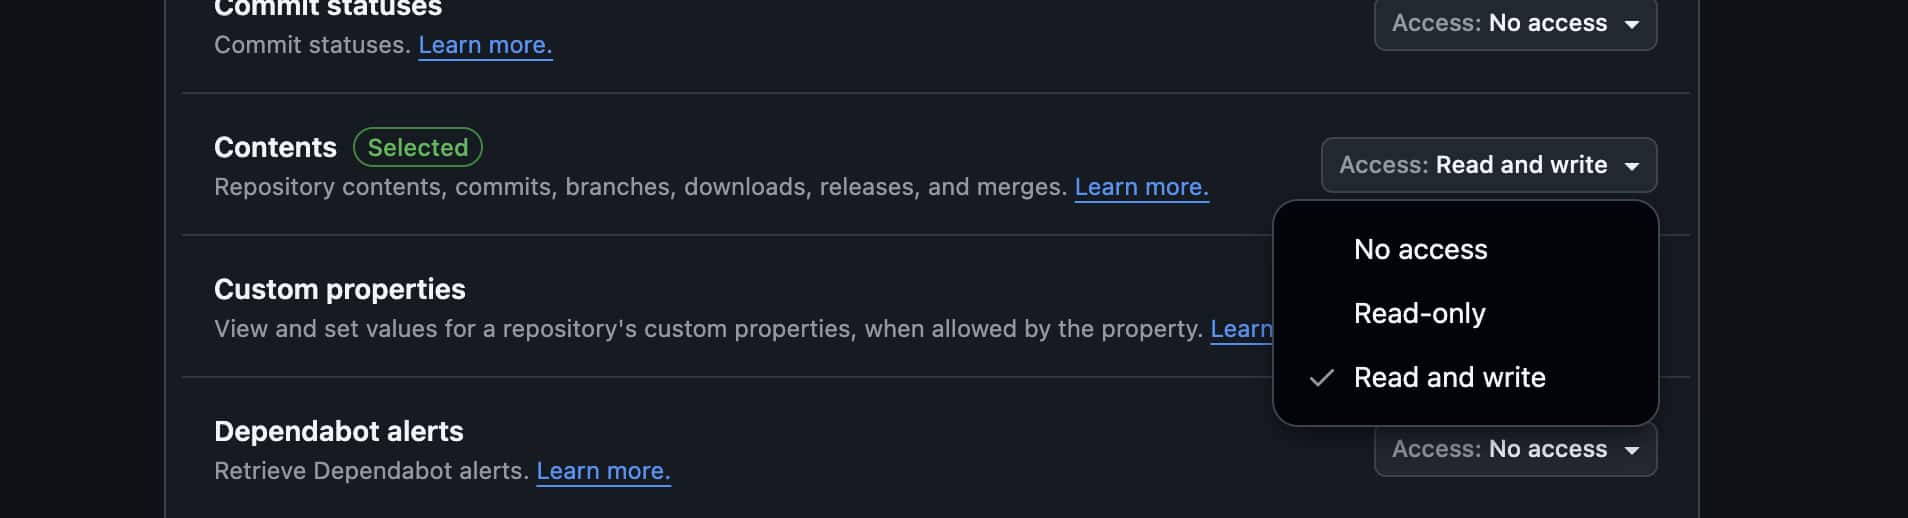
Repository permissions
Contents:
-
Access level: Read and write
-
Purpose: Reading and writing localization files
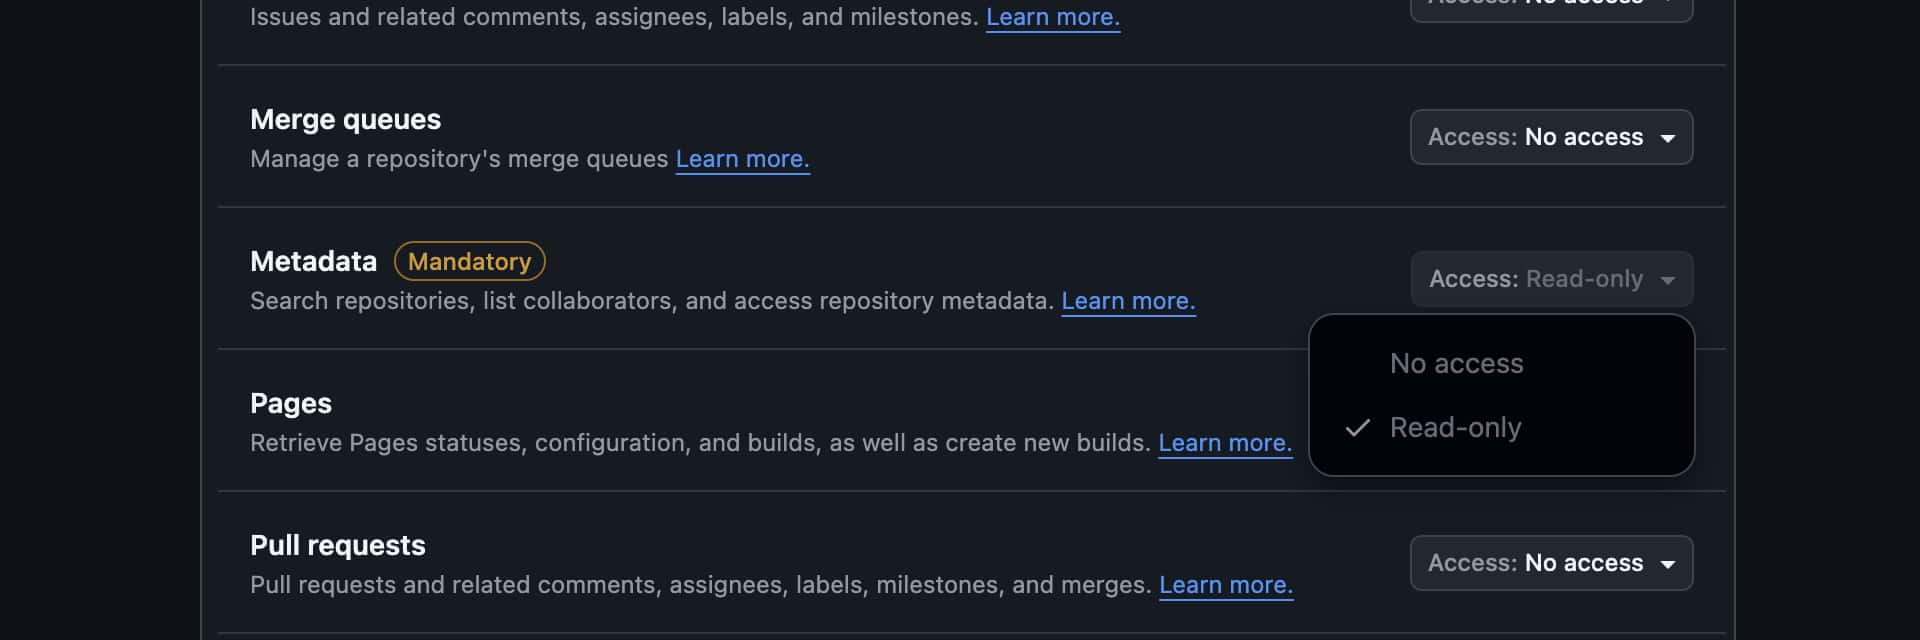
Metadata:
-
Access level: Read
-
Purpose: Repository metadata access
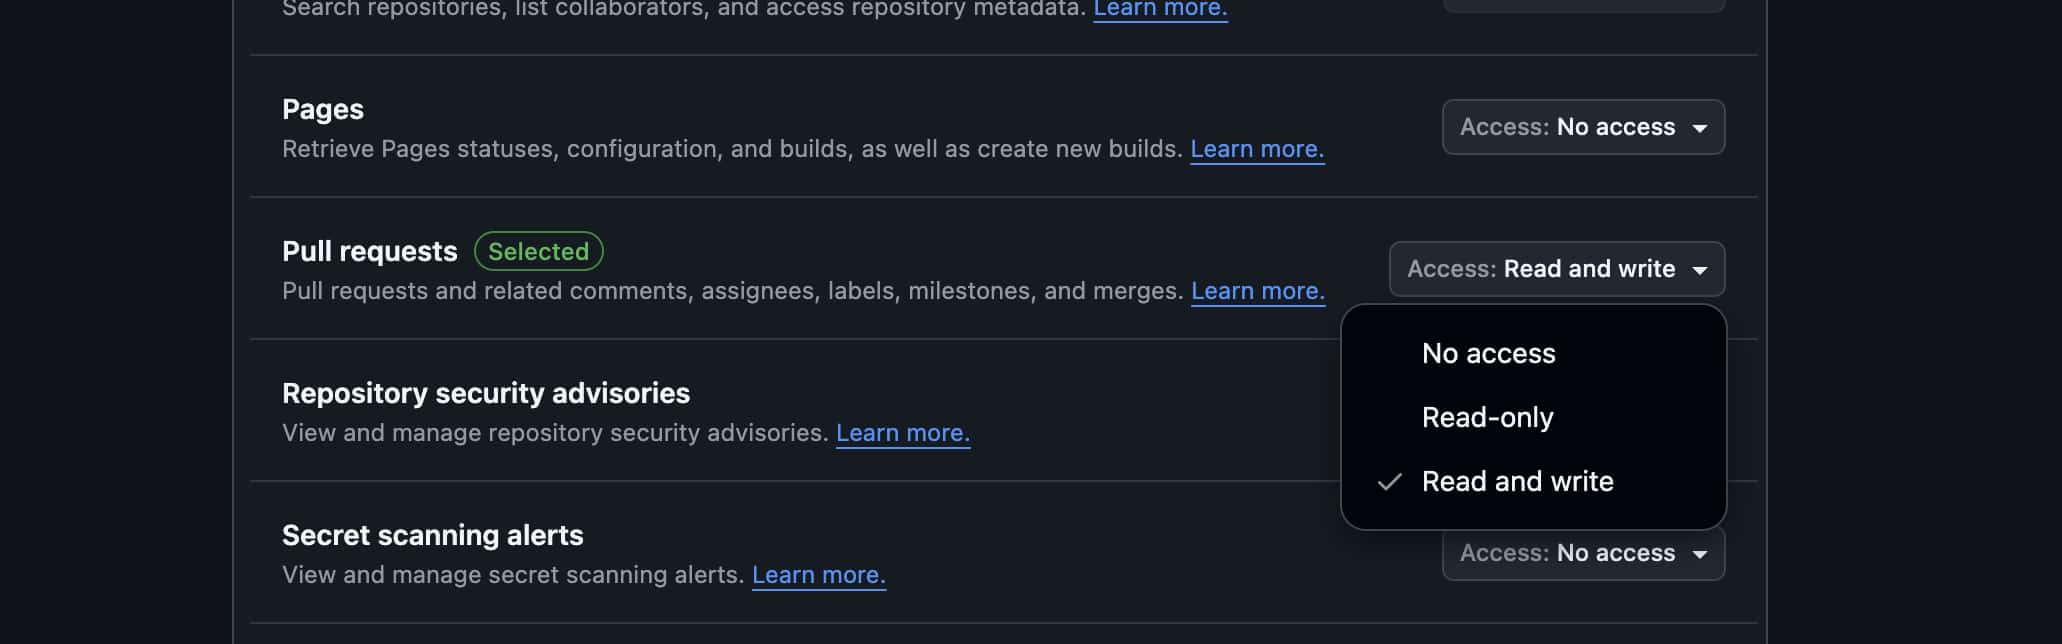
Pull requests:
-
Access level: Read and write
-
Purpose: Creating and managing pull requests
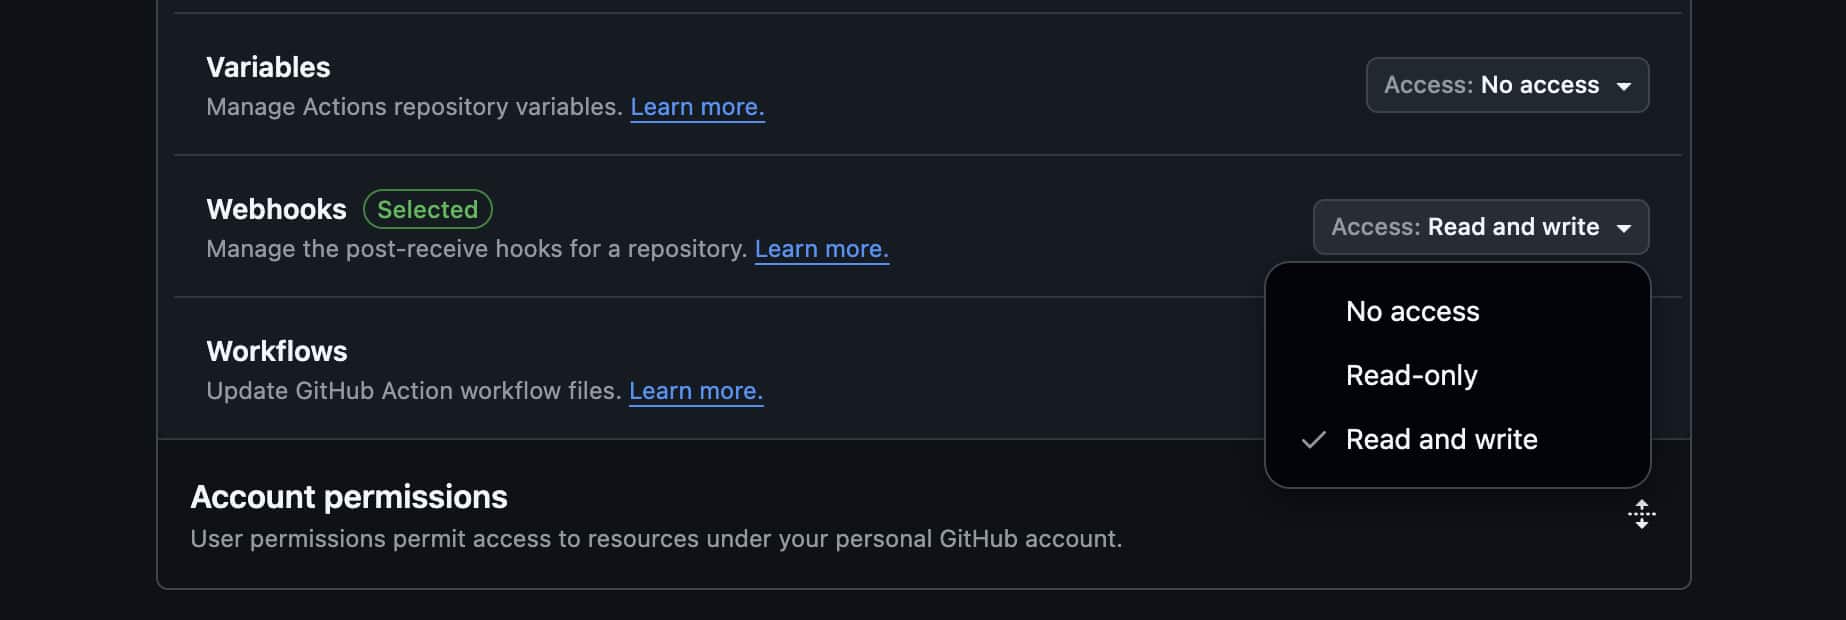
Webhooks (for automatic synchronization)
Webhooks:
-
Access level: Read and write
-
Purpose: Automatic updates when repository changes
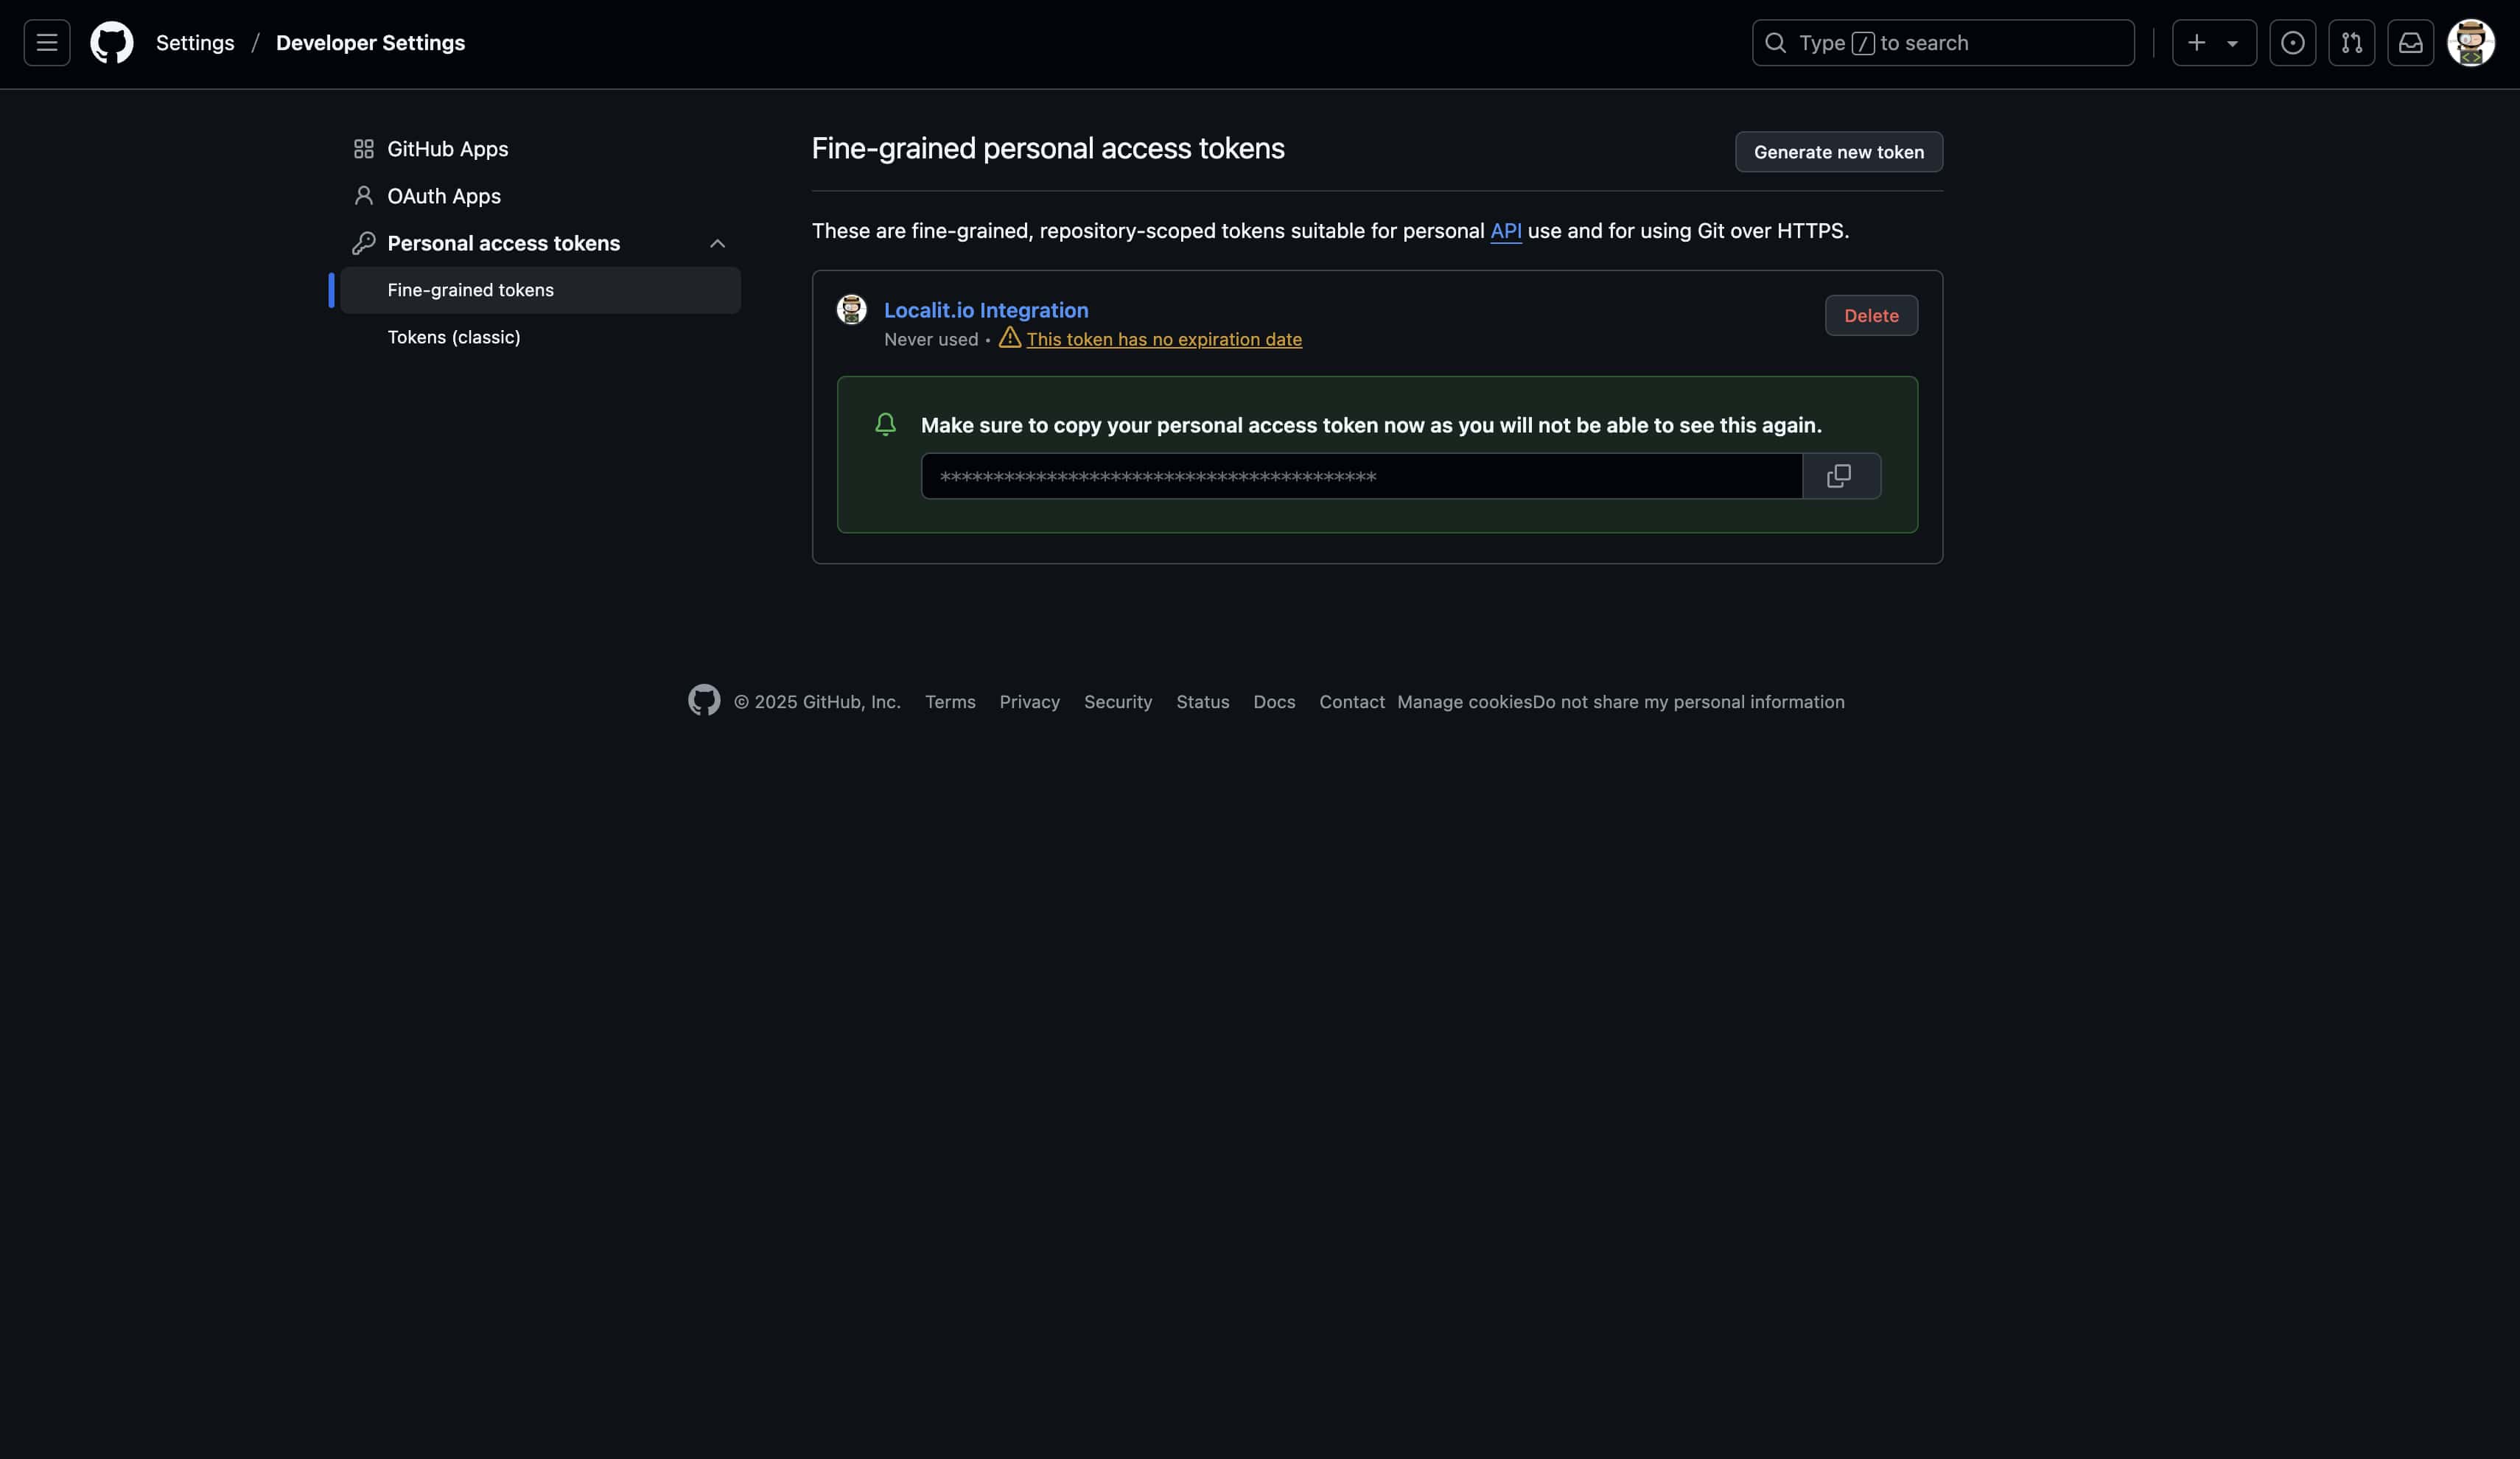
Step 6: Create and copy token
-
Click "Generate token"
-
Important: Copy the token immediately — it won't be shown again
-
Save the token in a secure location
Creating Classic Personal Access Token
Alternative method for legacy systems
If Fine-grained tokens don't work (e.g., for older GitHub Enterprise Server versions):
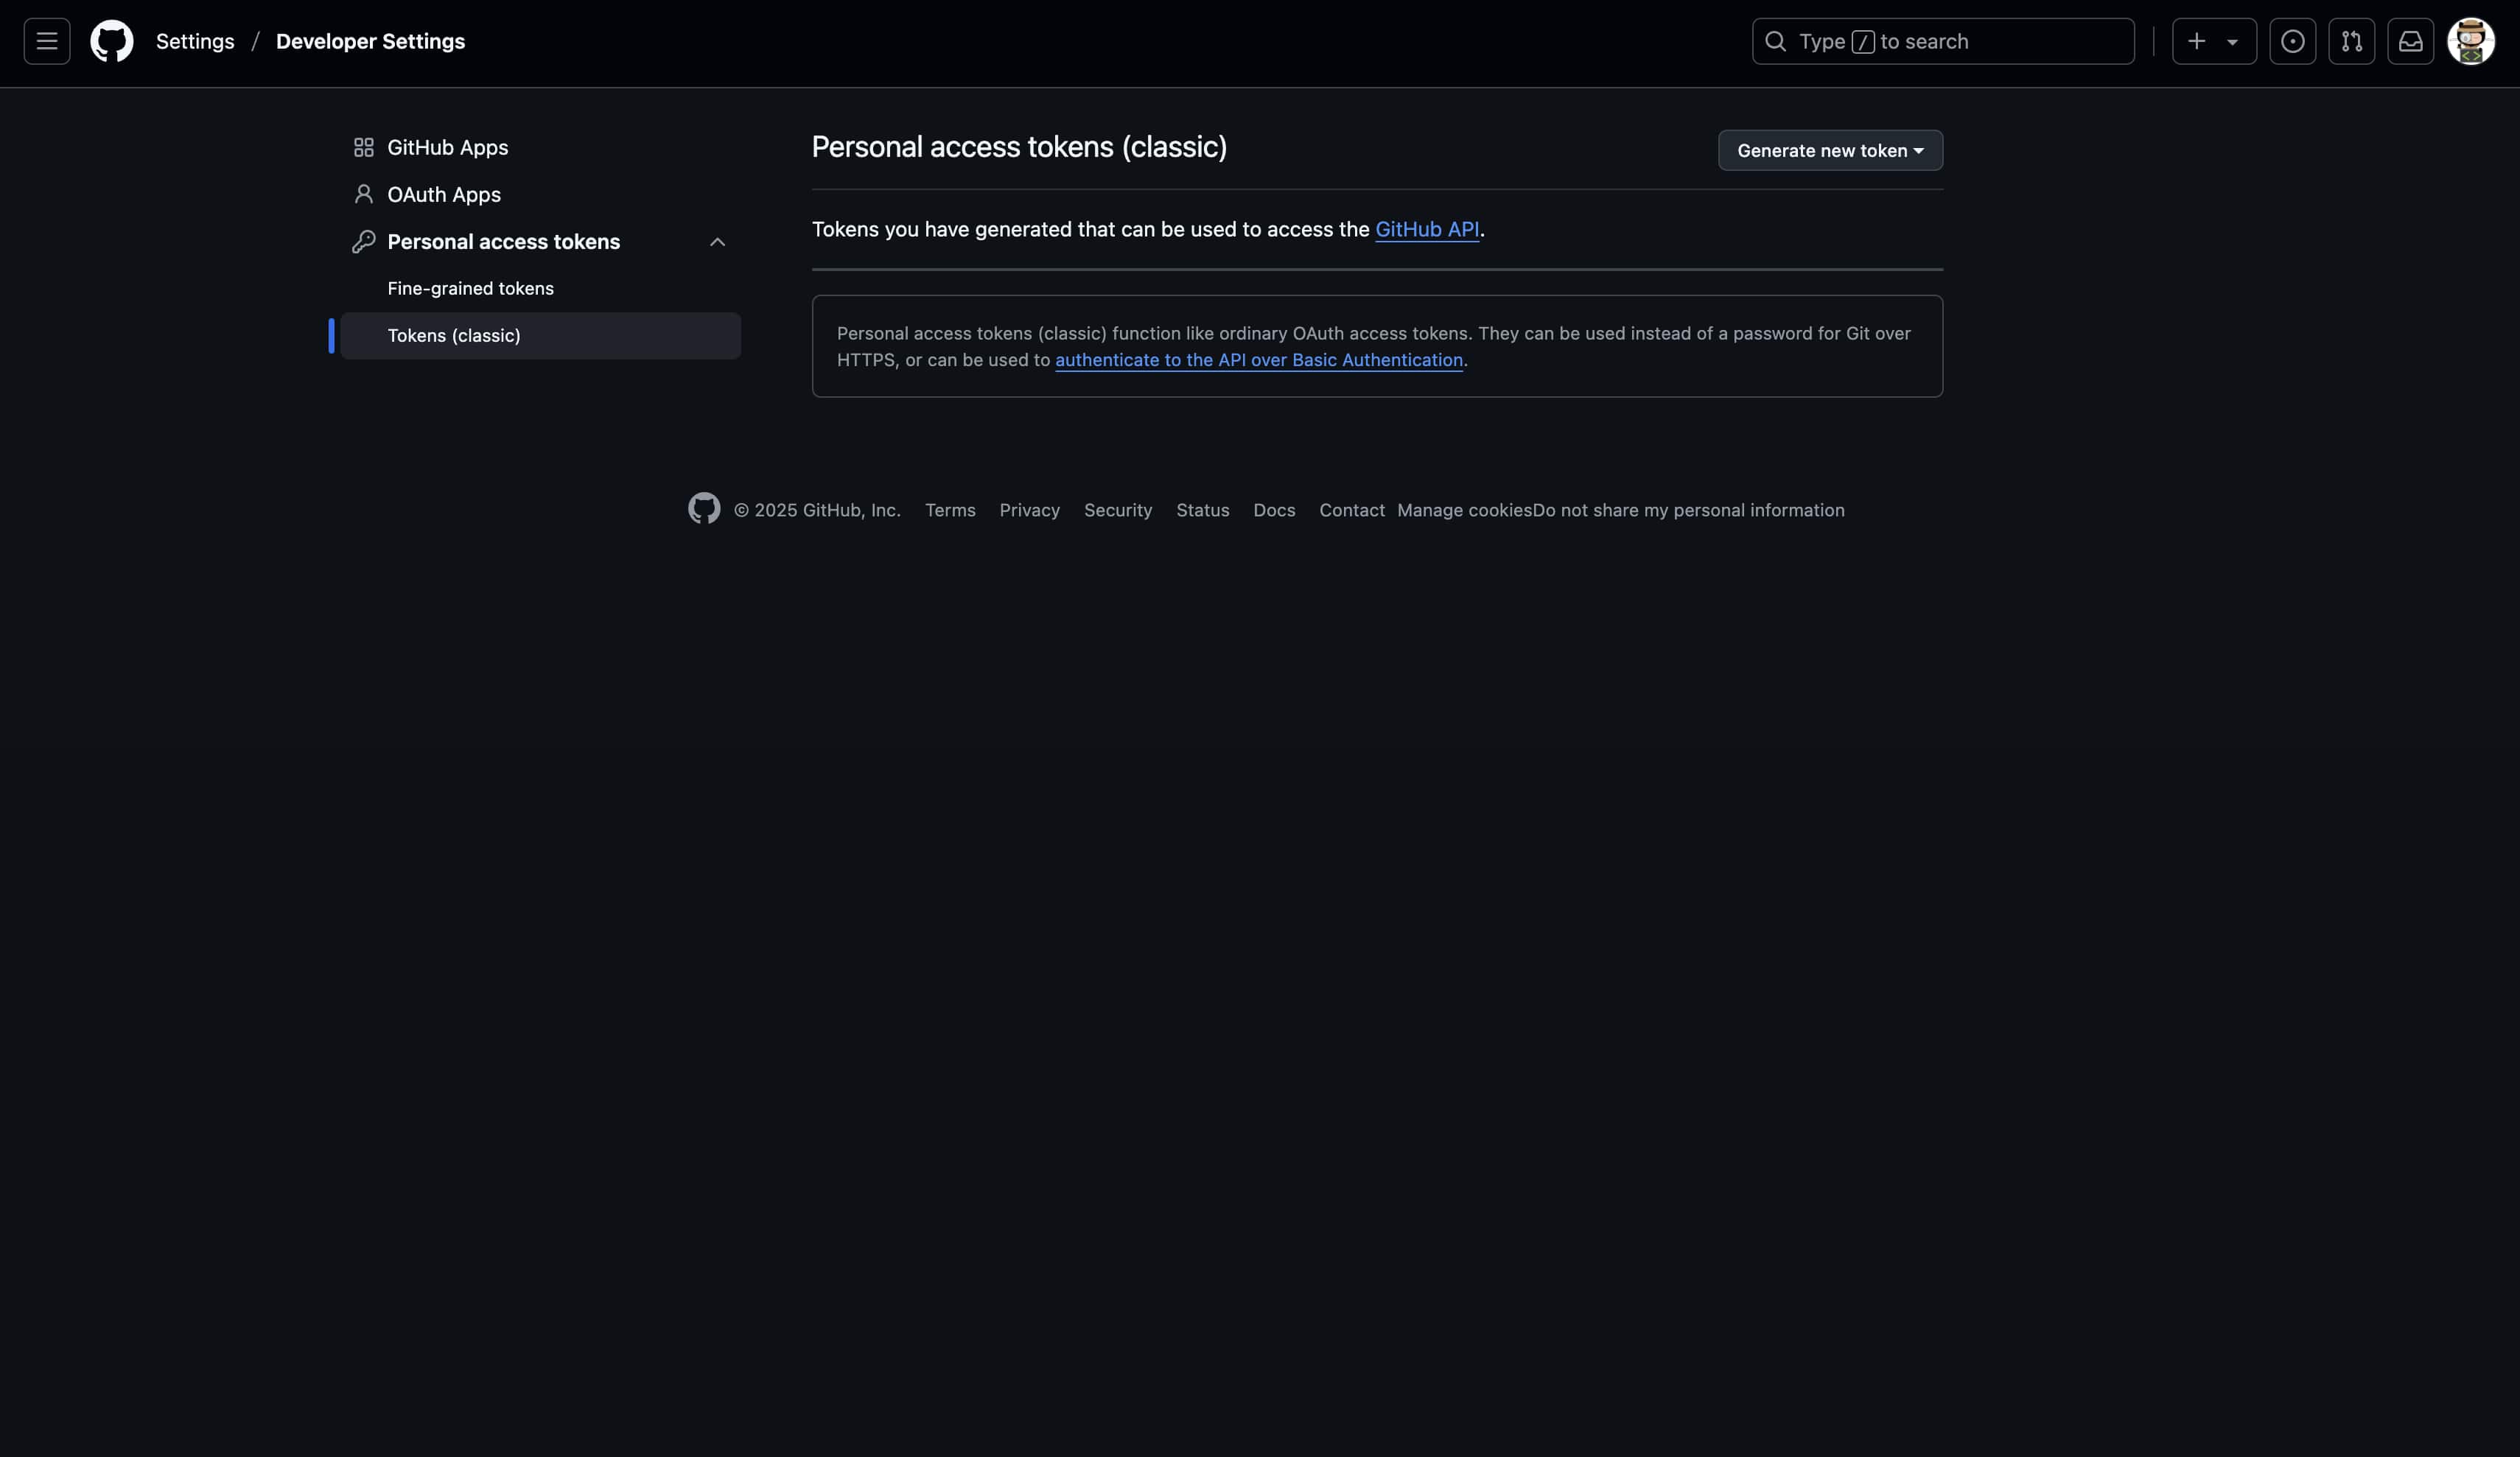
Step 1: Navigate to Classic tokens
-
In Developer Settings select "Personal access tokens (classic)"
-
Click "Generate new token (classic)"
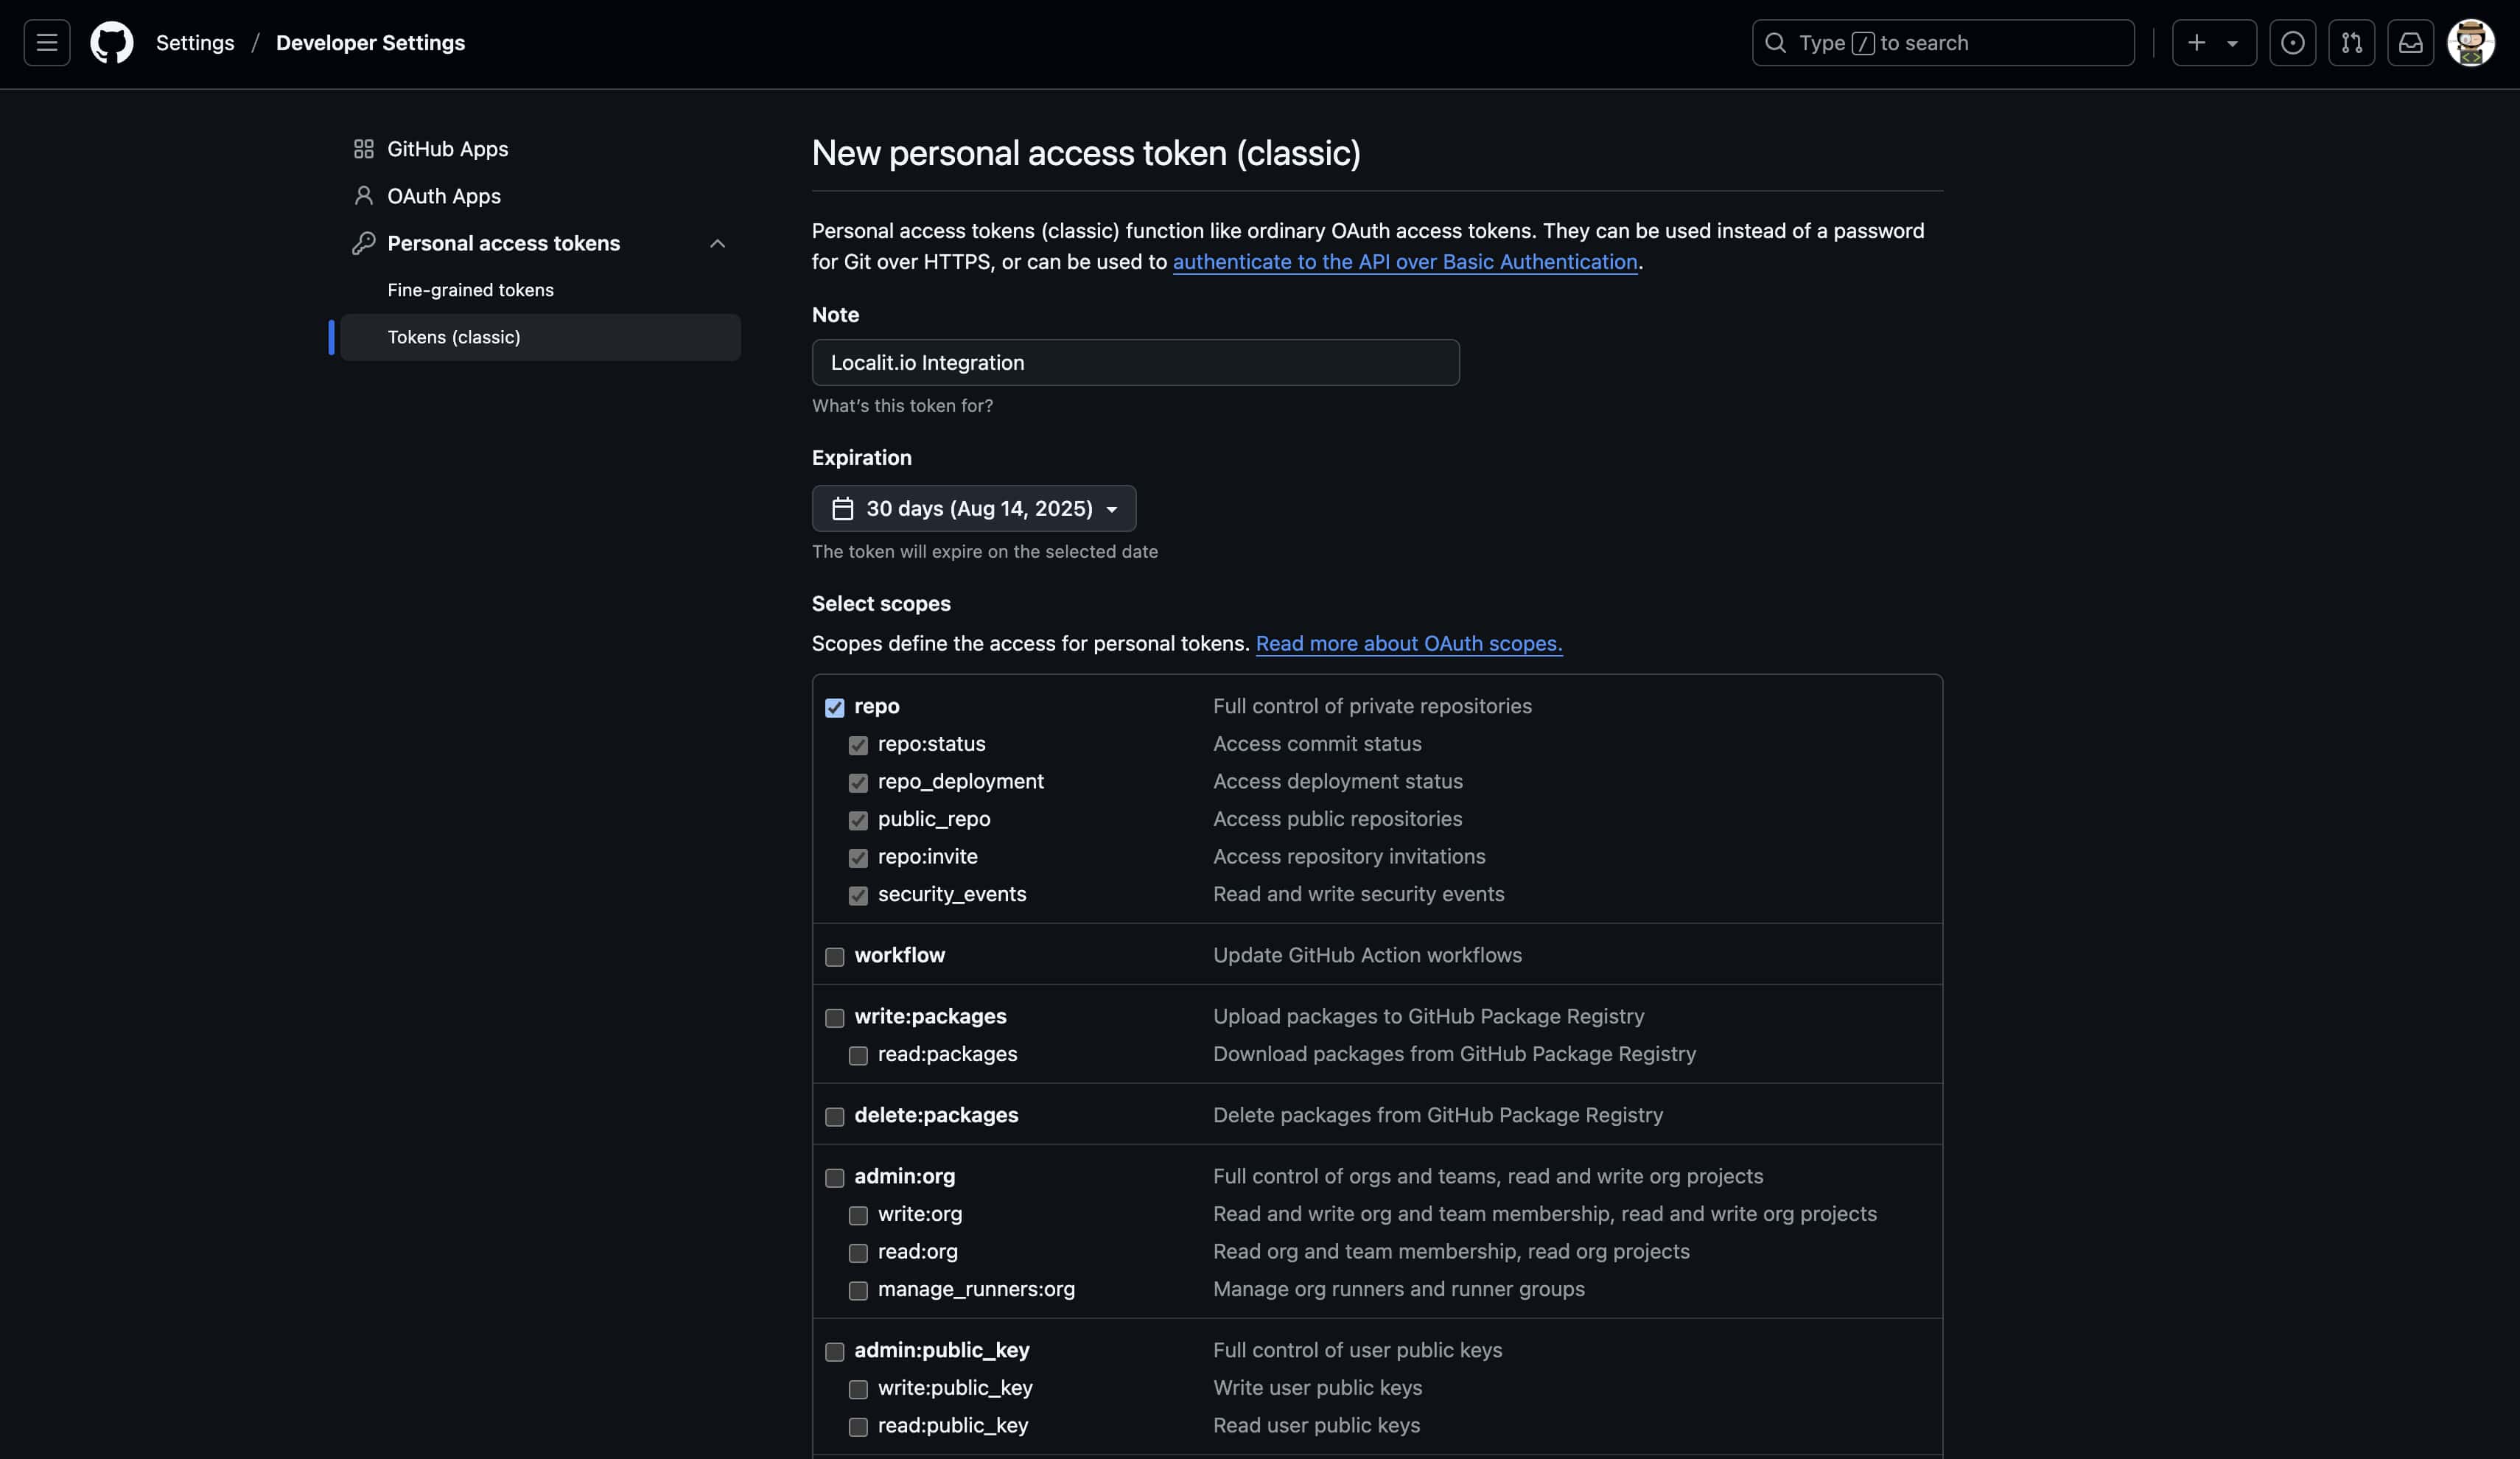
Step 2: Configure Classic token
Note: Localit.io Integration
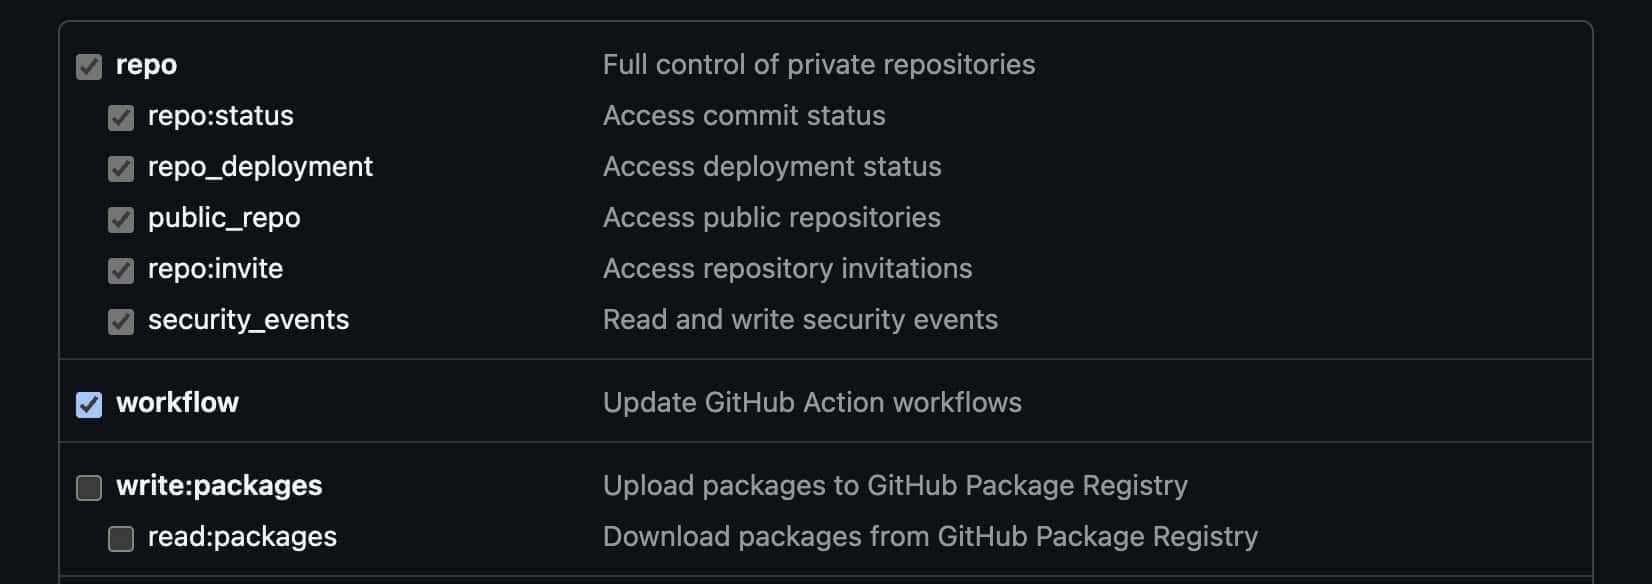
Required permissions (scopes):
repo — full repository access
-
repo:status
-
repo_deployment
-
public_repo
-
repo:invite
-
security_events
admin:repo_hook — webhook management
-
write:repo_hook
-
read:repo_hook

workflow — for process automation
workflow
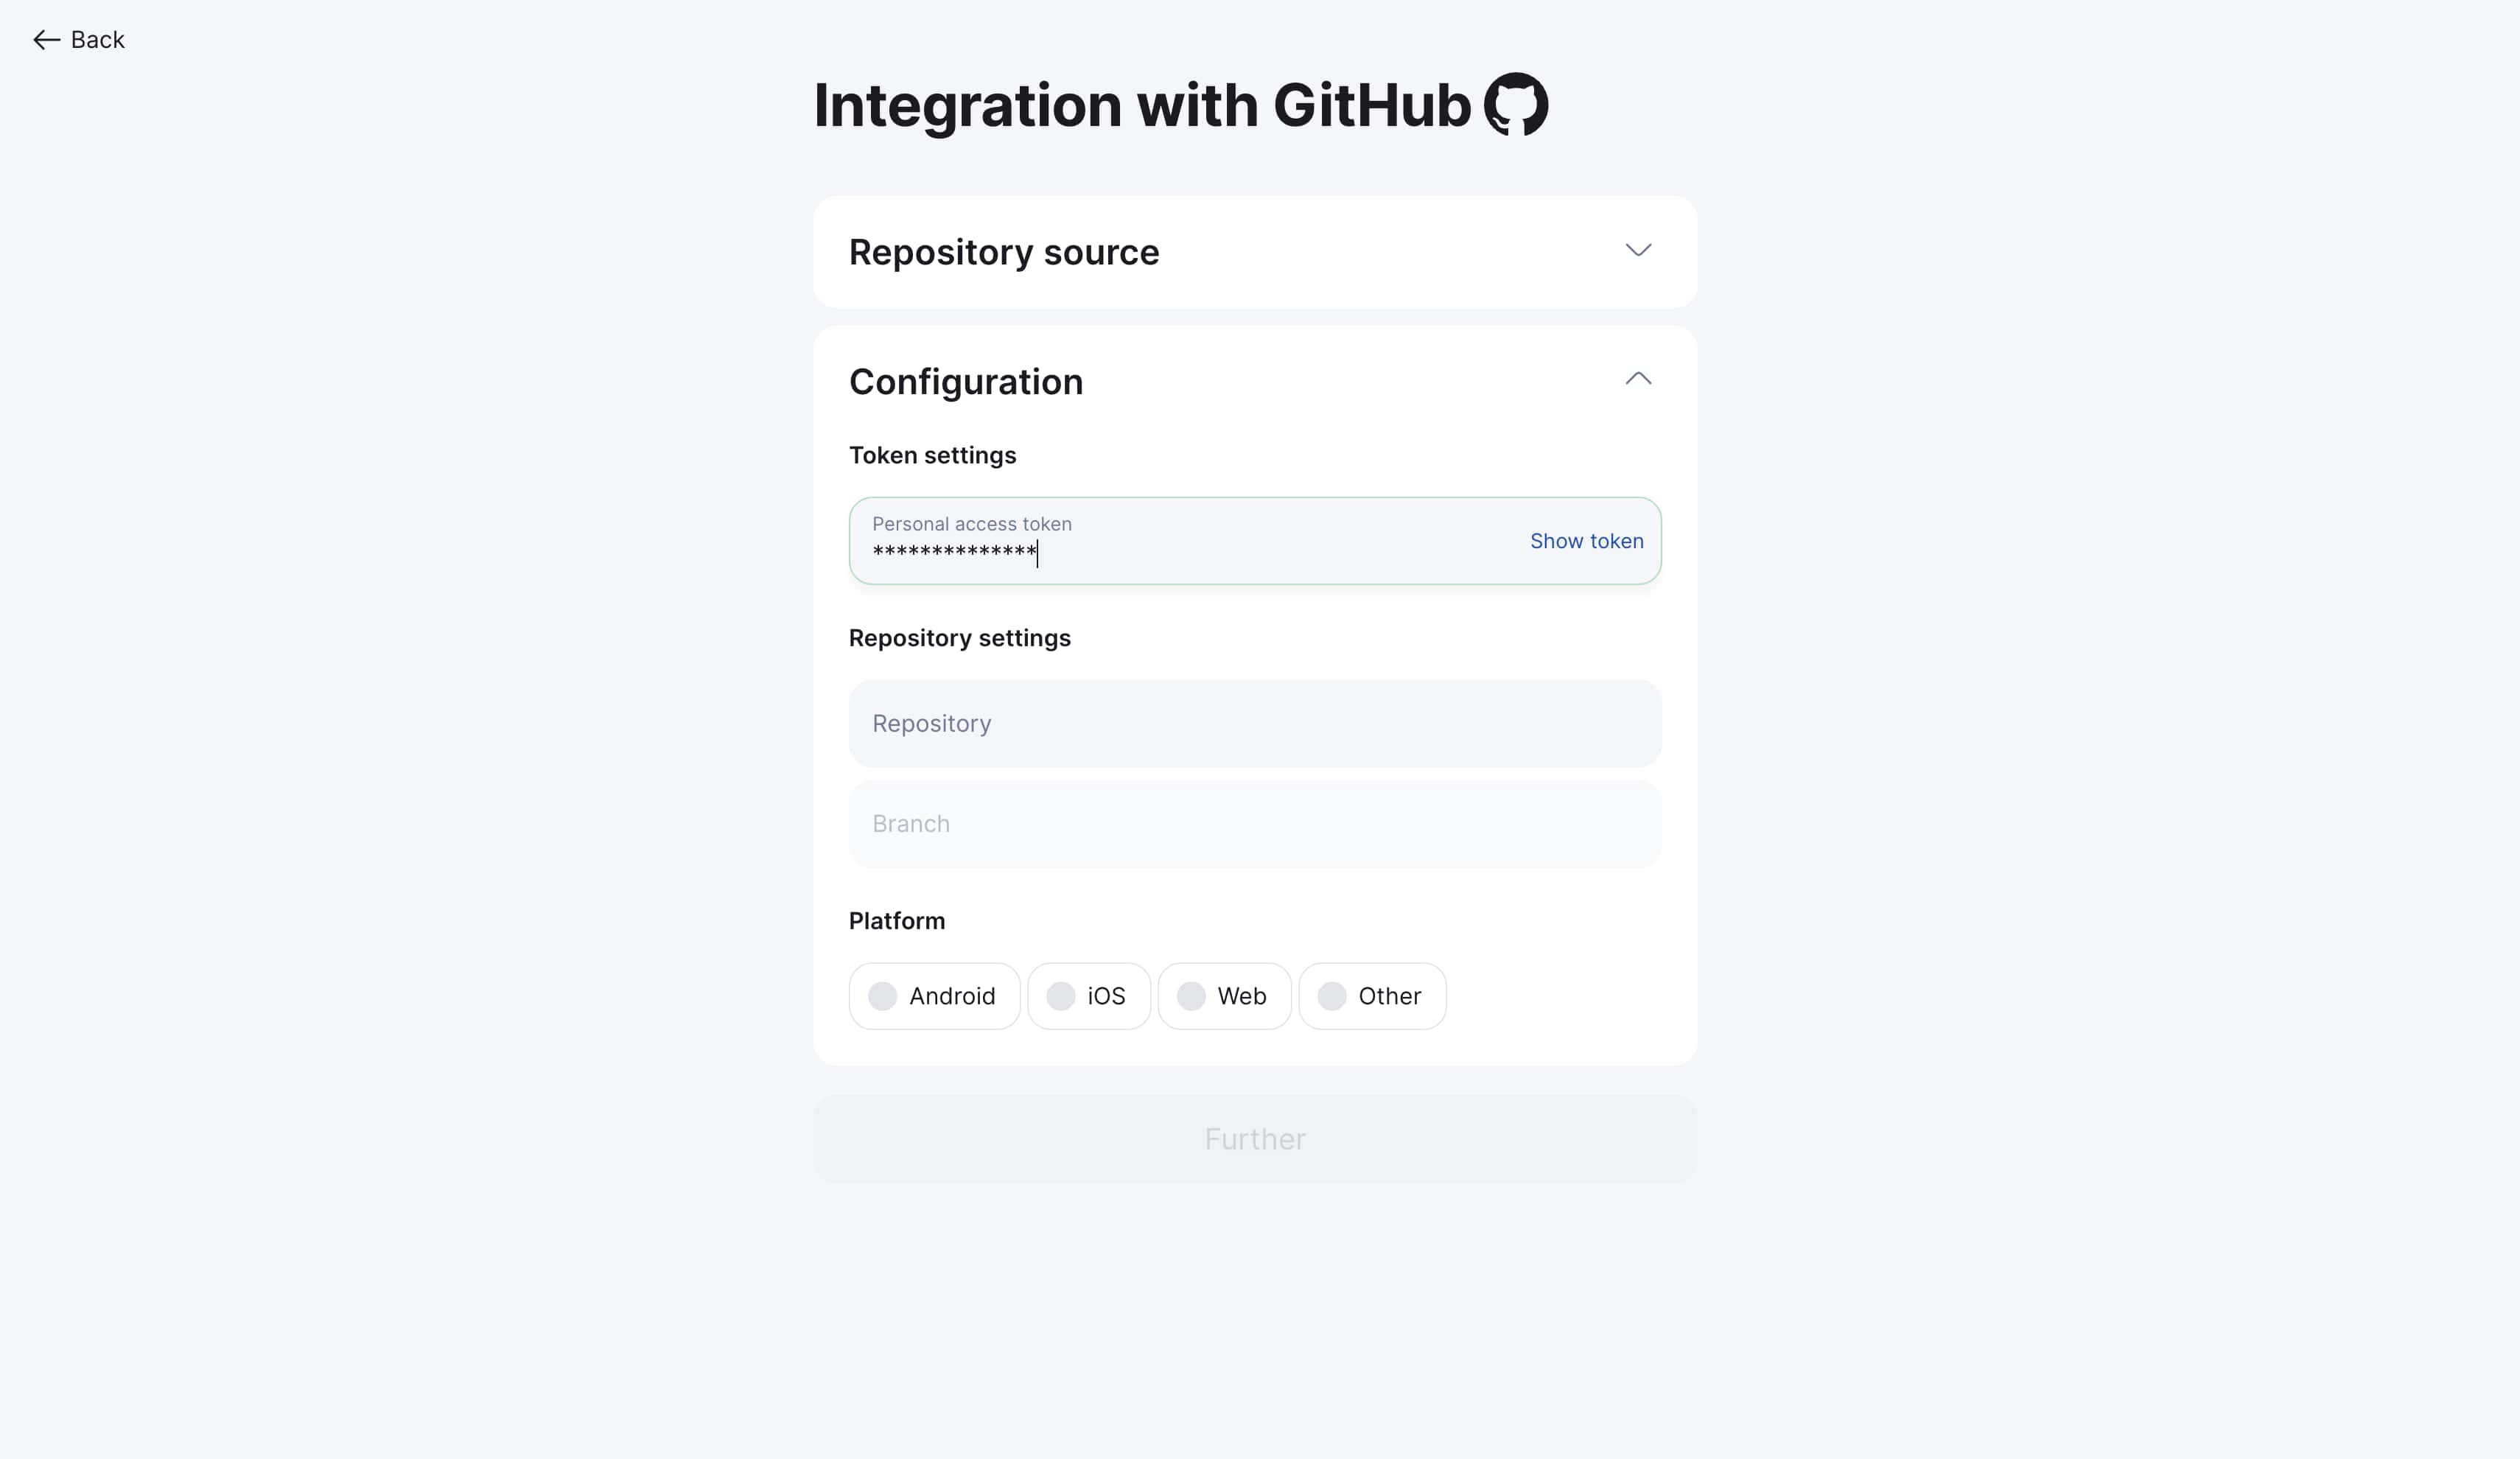
Configuring connection parameters in Localit.io
Step 1: Enter token
-
Return to Localit.io interface
-
Paste the copied token into "Personal access token" field
-
System automatically validates the token
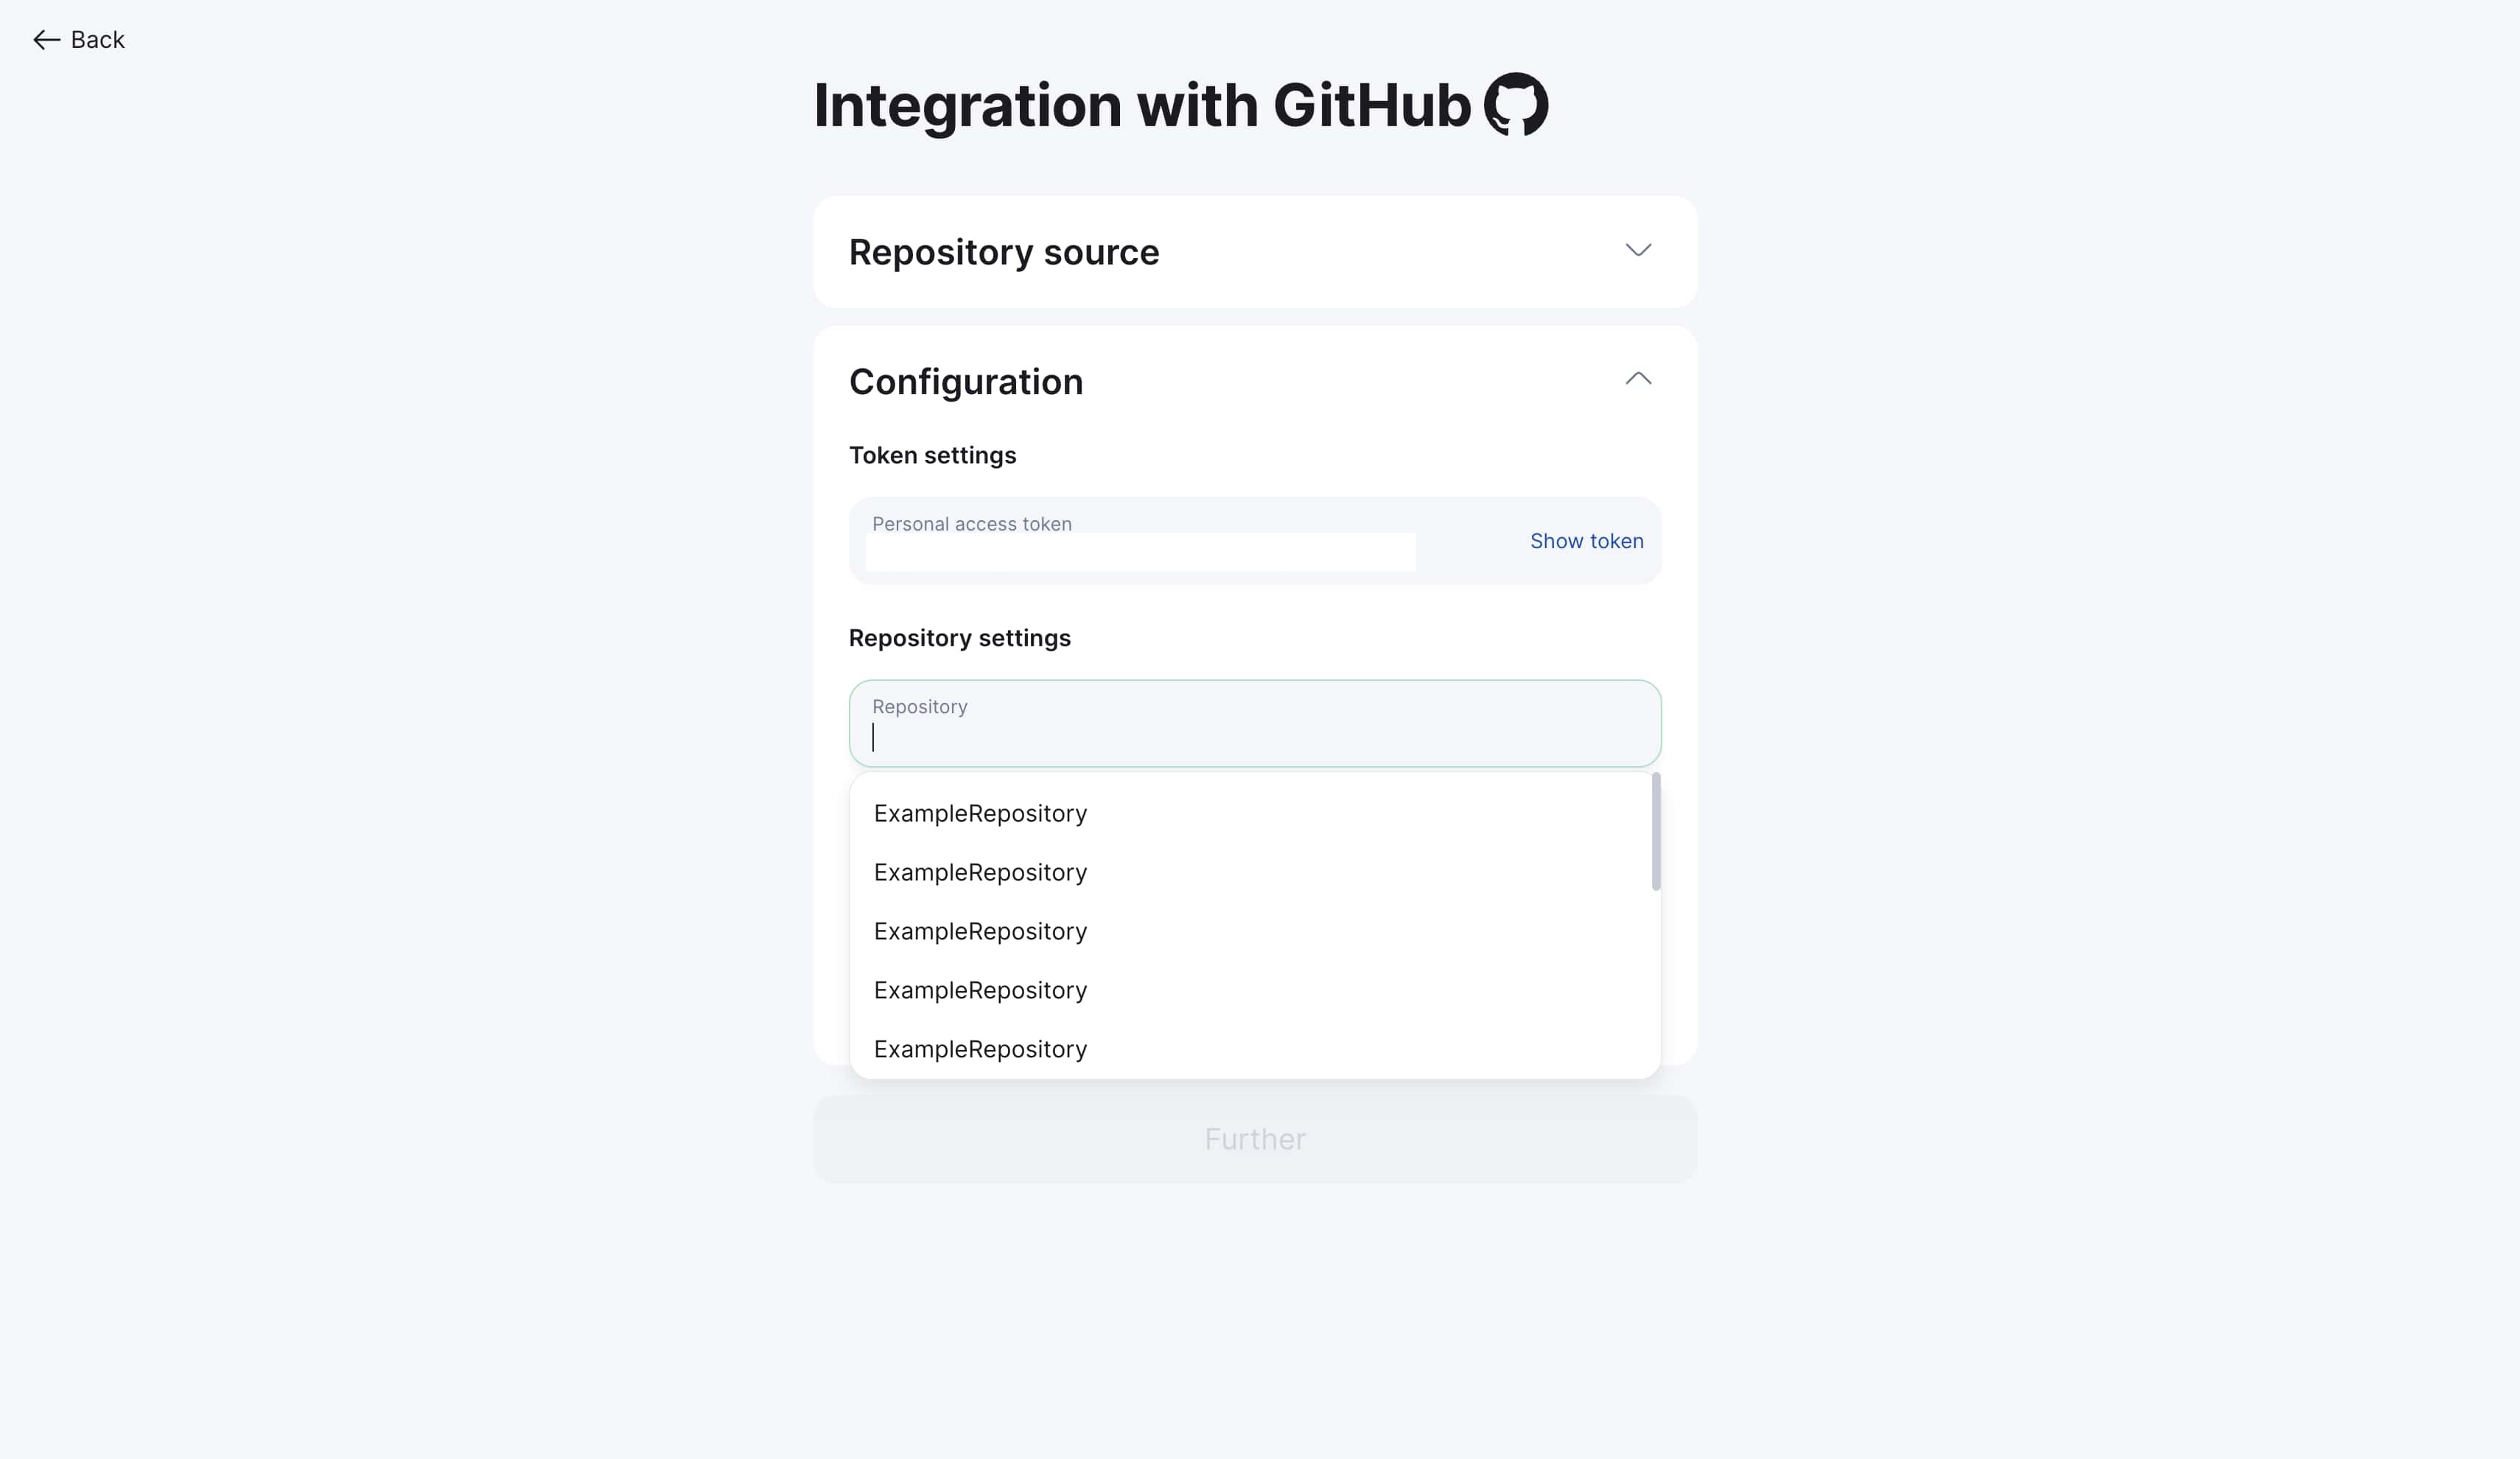
Step 2: Select repository
-
Choose target repository from dropdown list
-
Search by name available for convenience
-
Only accessible repositories are displayed
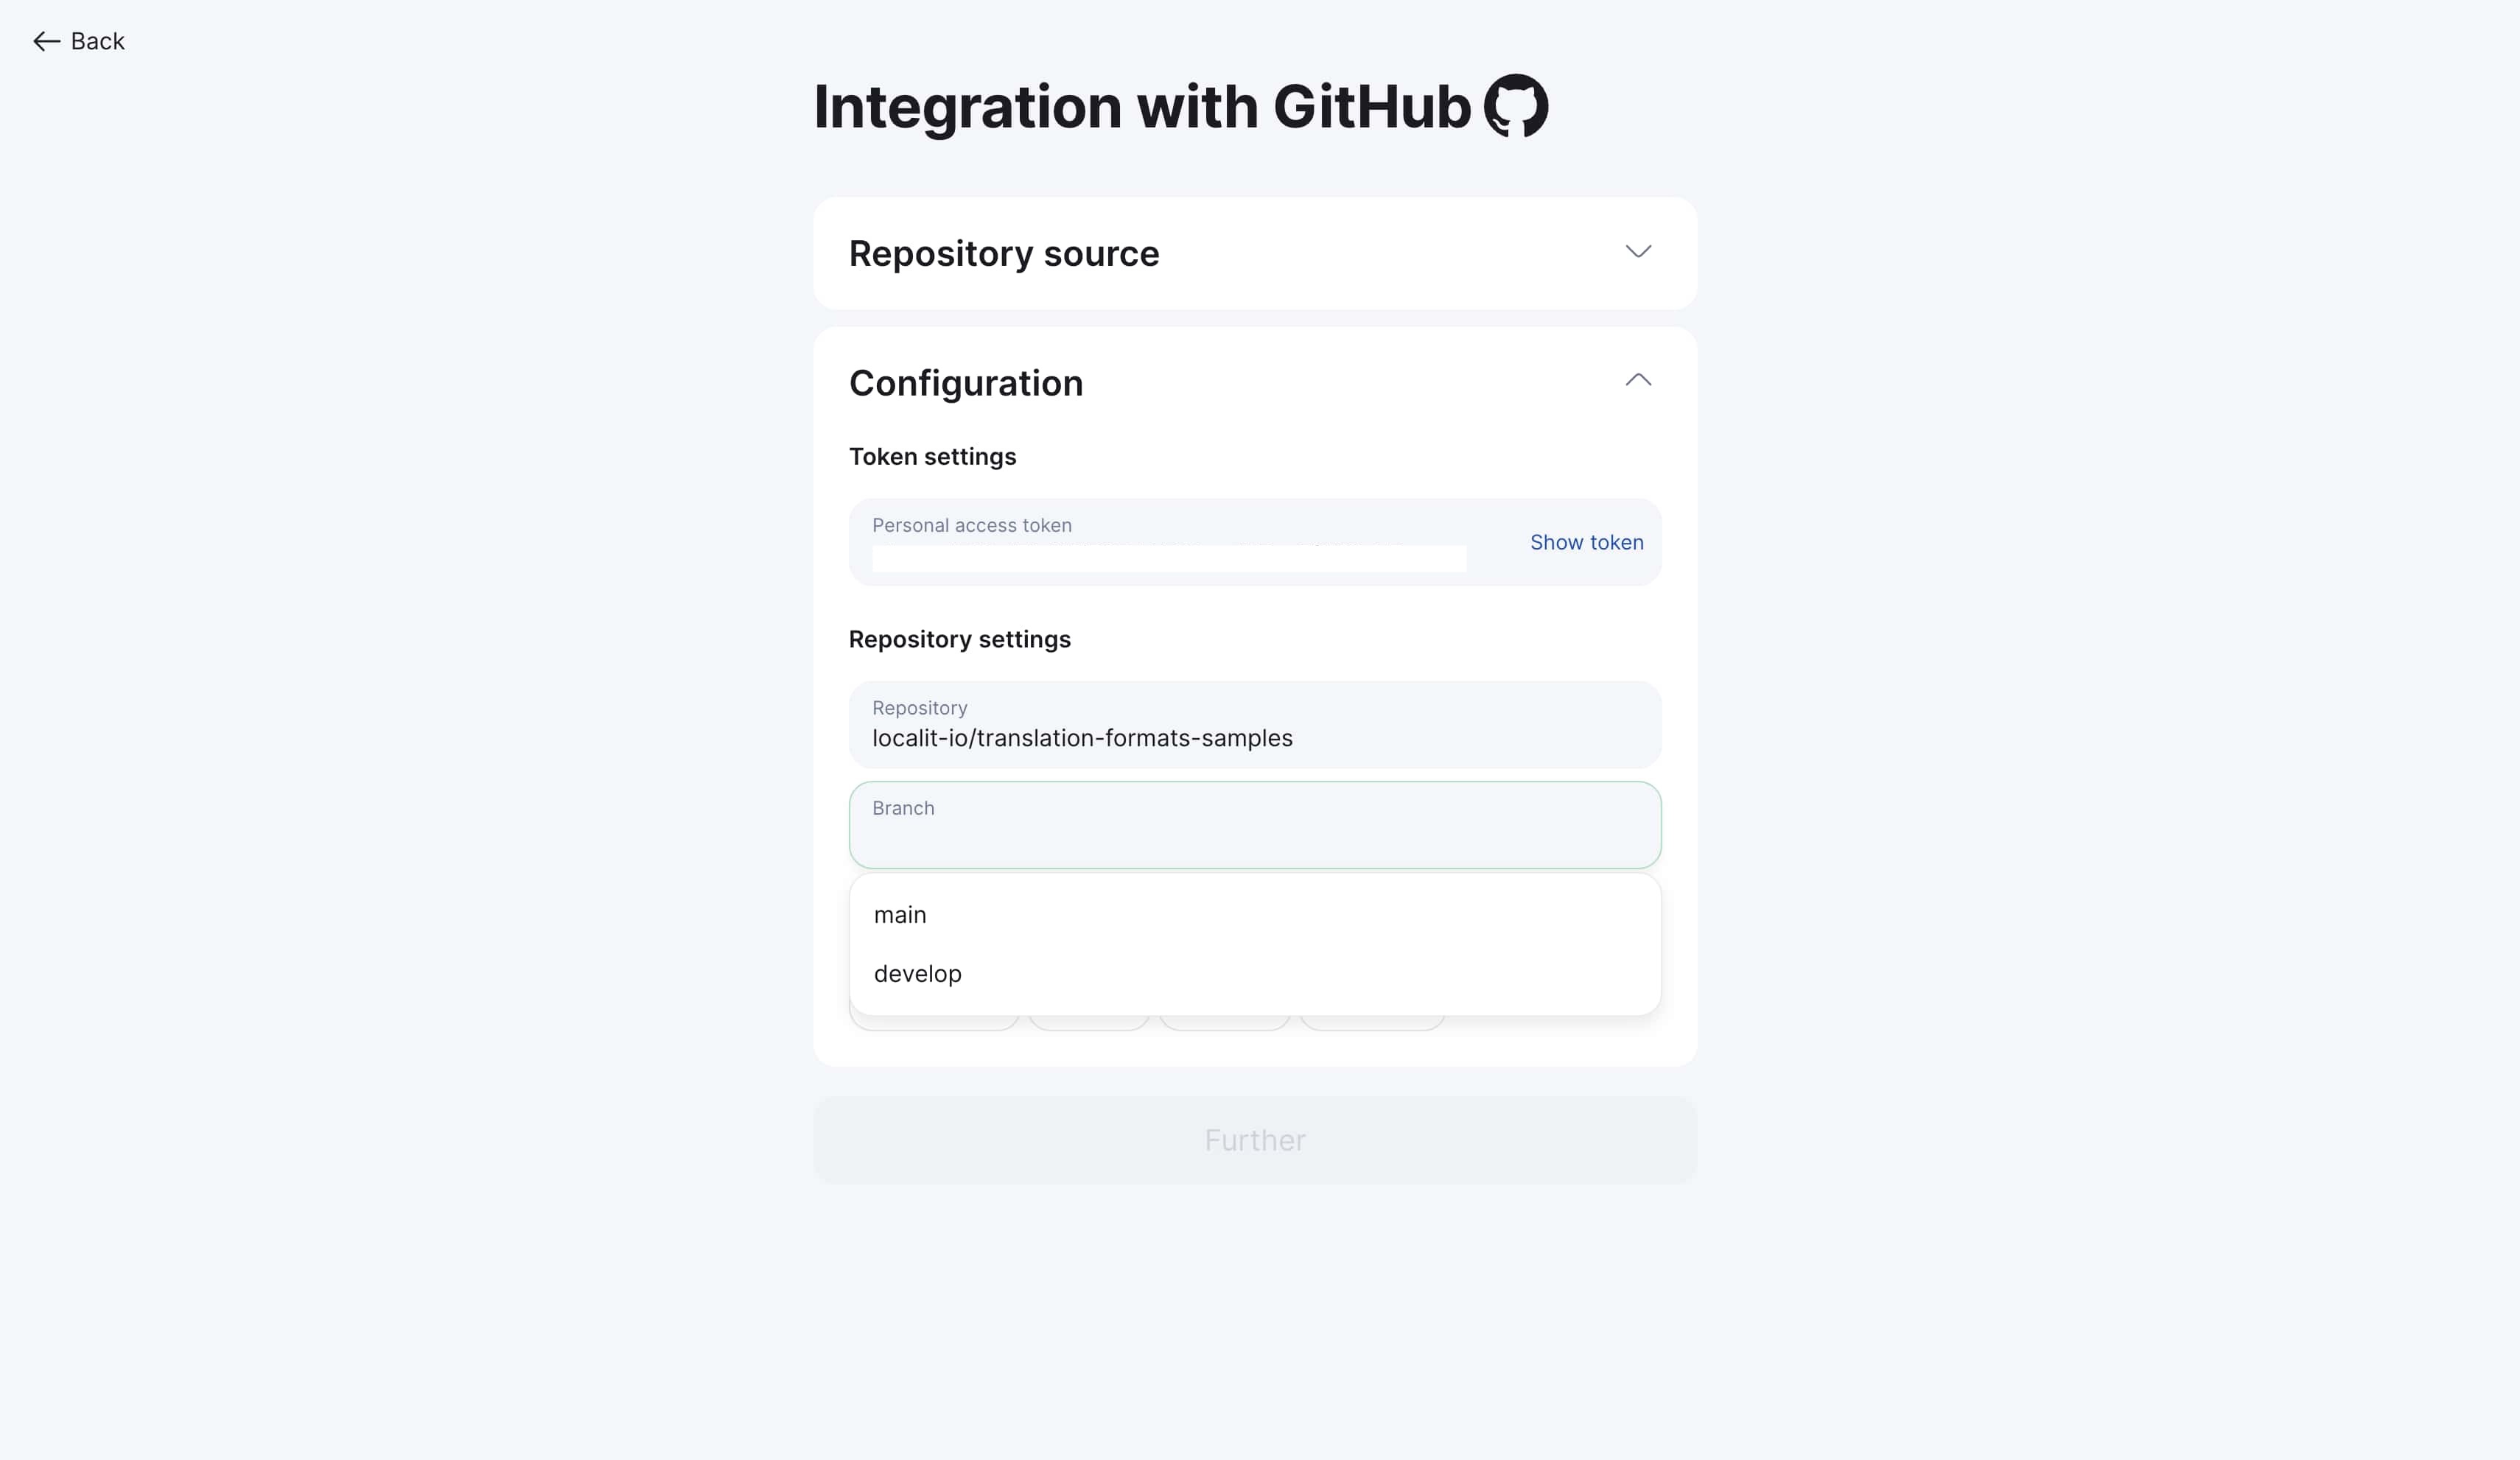
Step 3: Specify working branch
-
Specify working branch (usually
mainordevelop) -
Search by branch name available
-
System shows all available branches
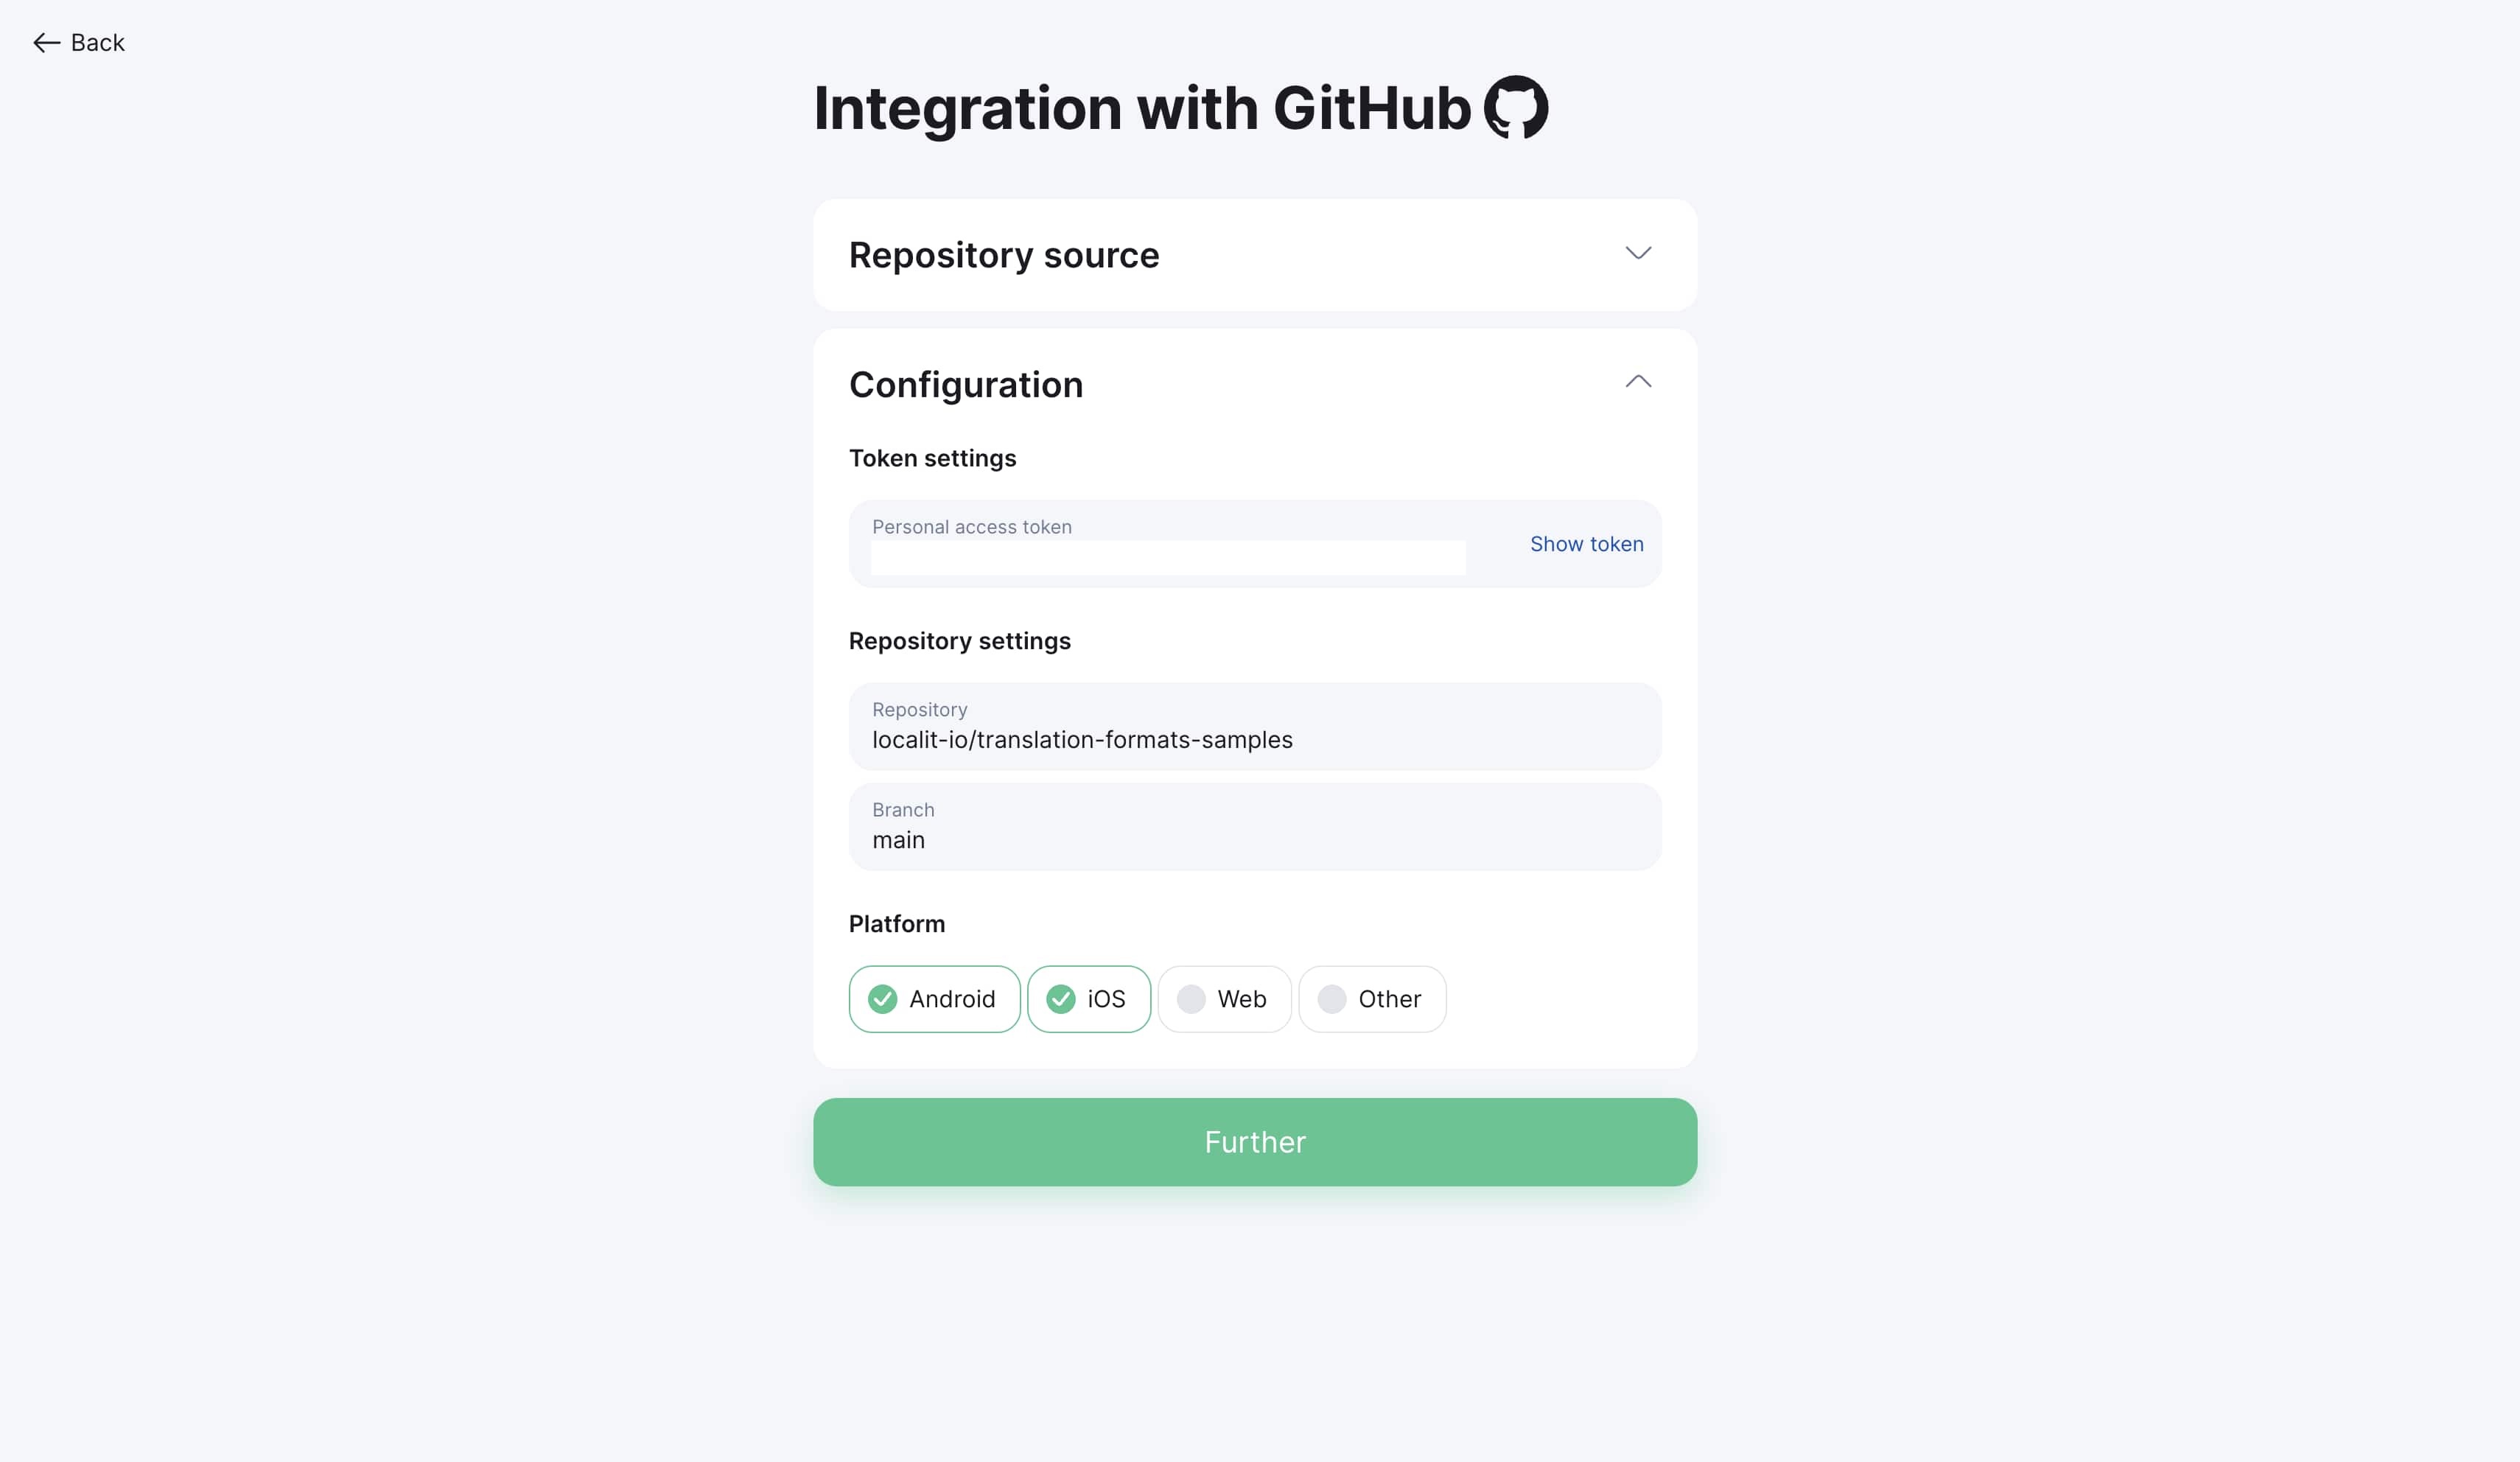
Platform and file configuration
Step 1: Choose platform type
Select platform type according to your project:
-
Web (.json, .po, .pot, .mo)
-
Android (.xml)
-
iOS (.strings, .stringsdict)
-
Other (.srt, custom formats)
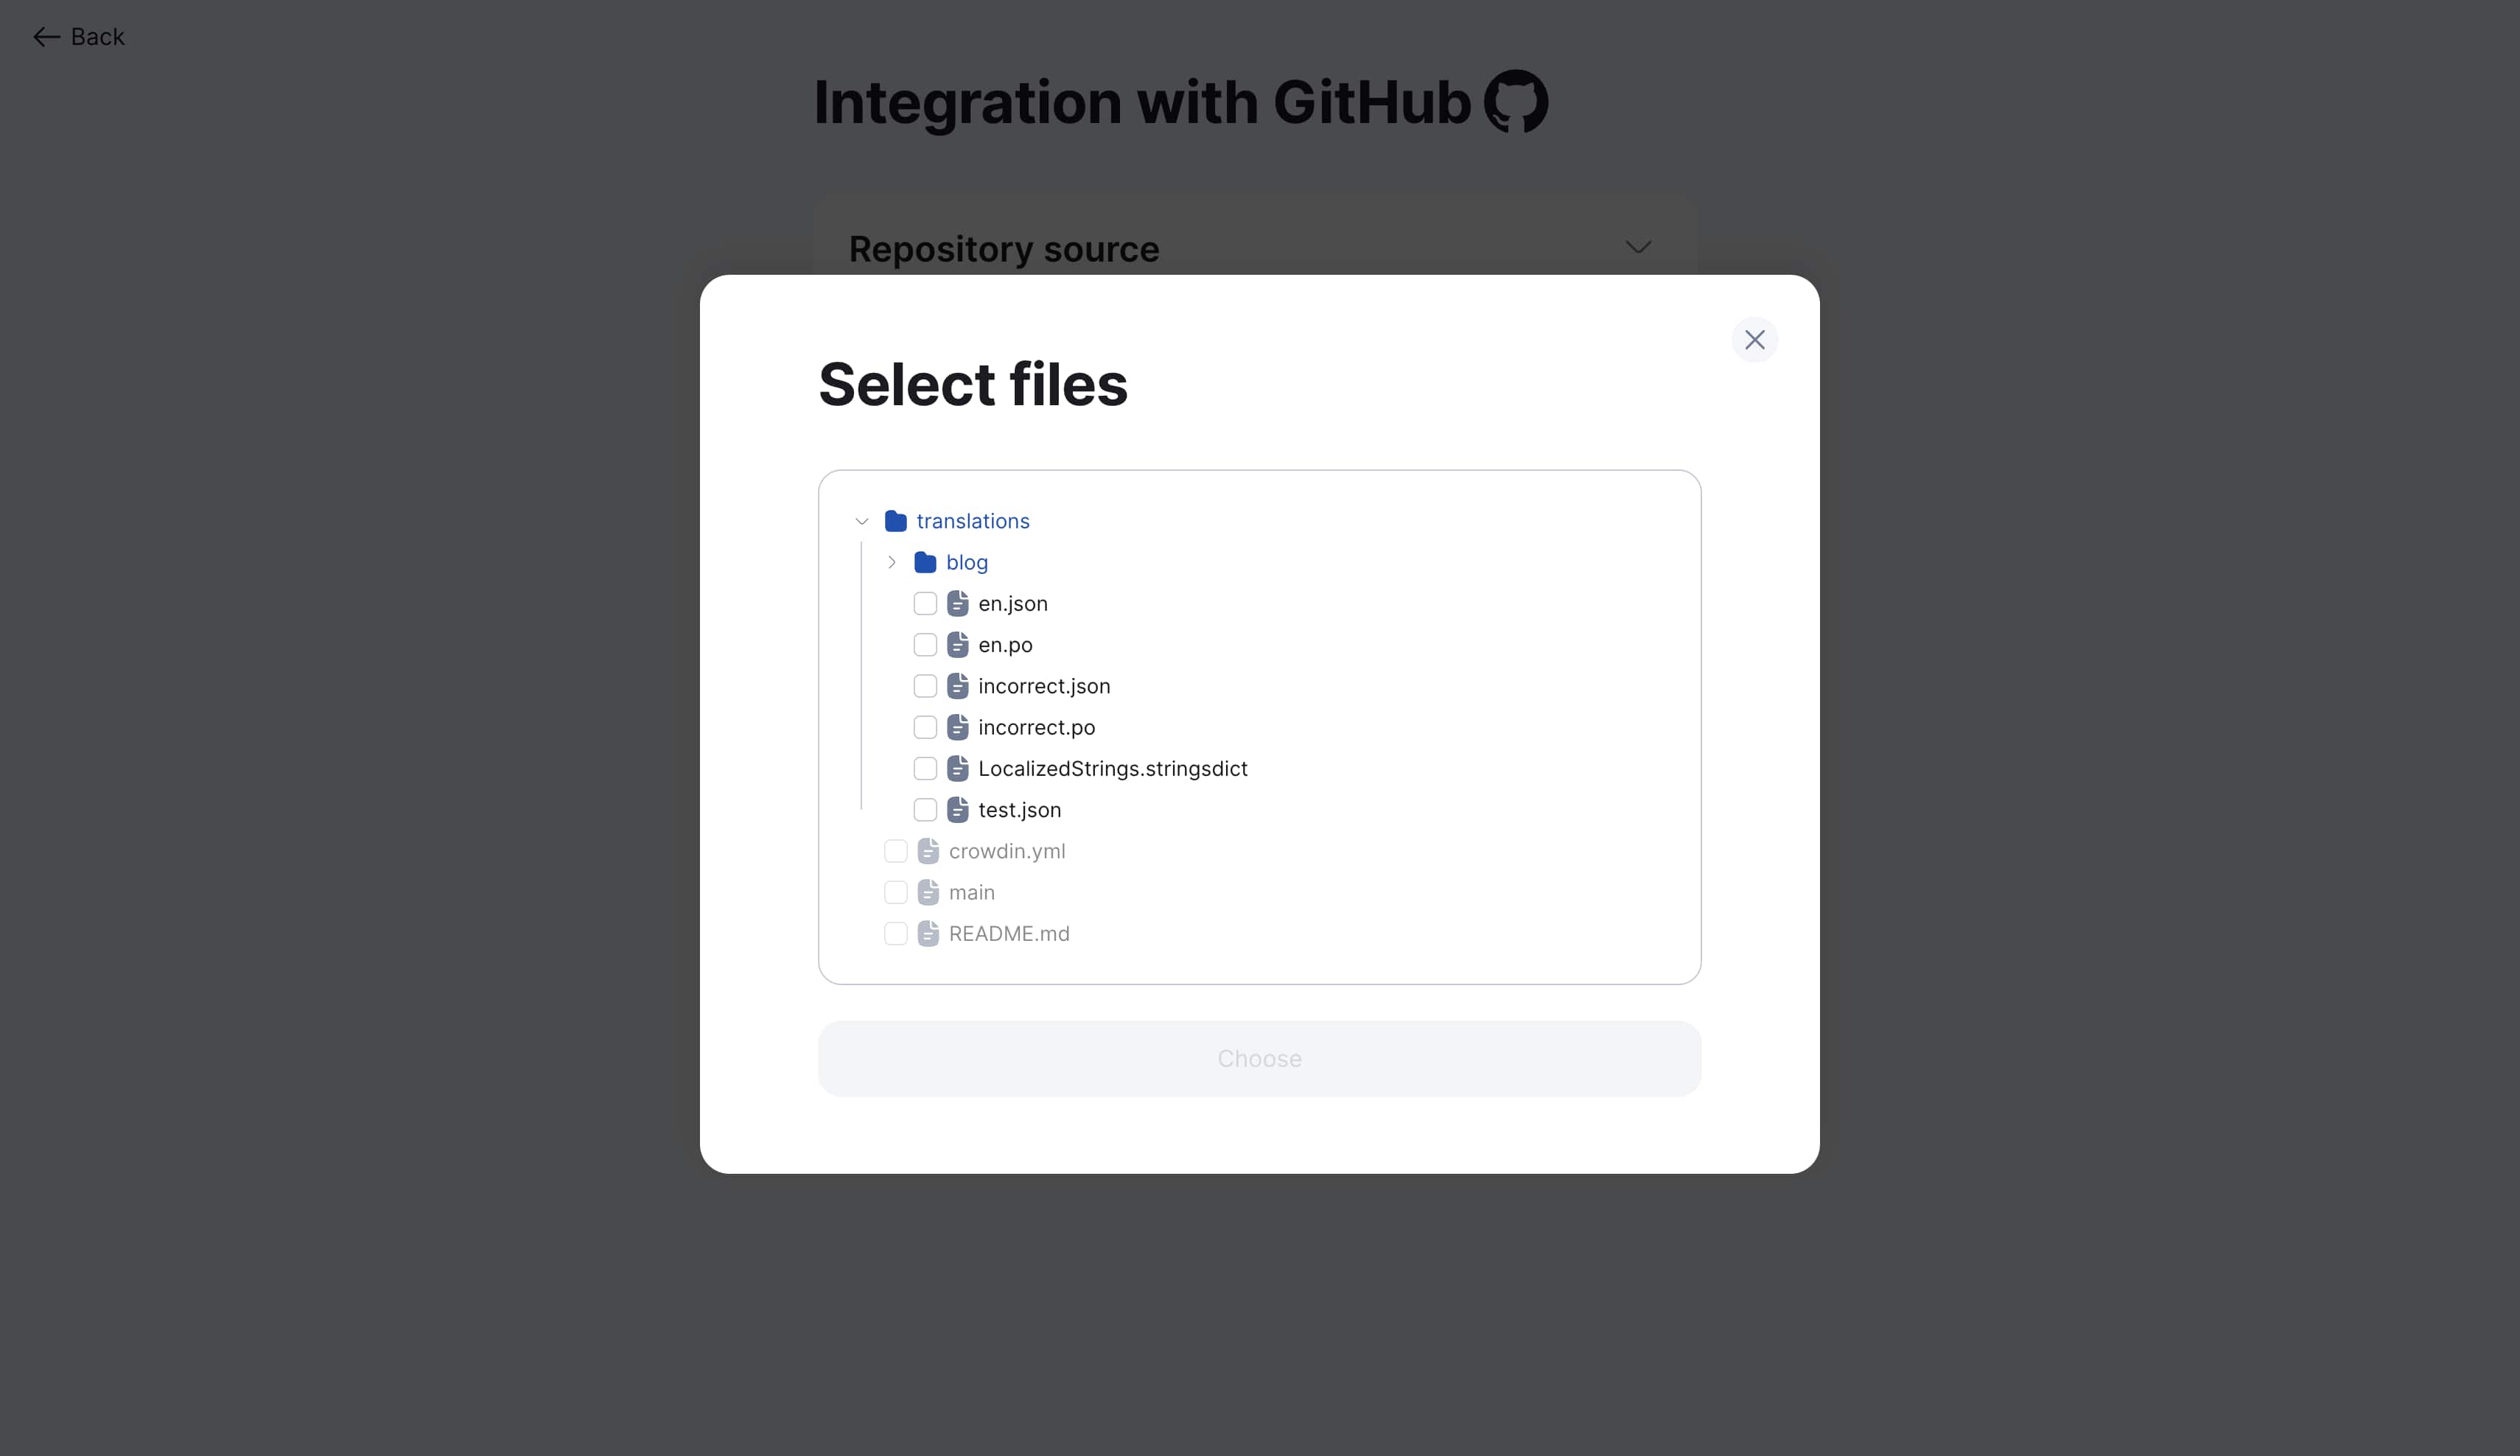
Step 2: Add files
-
Click "Next" to proceed to file selection
-
Click "Add file"
-
Select needed files in repository file tree
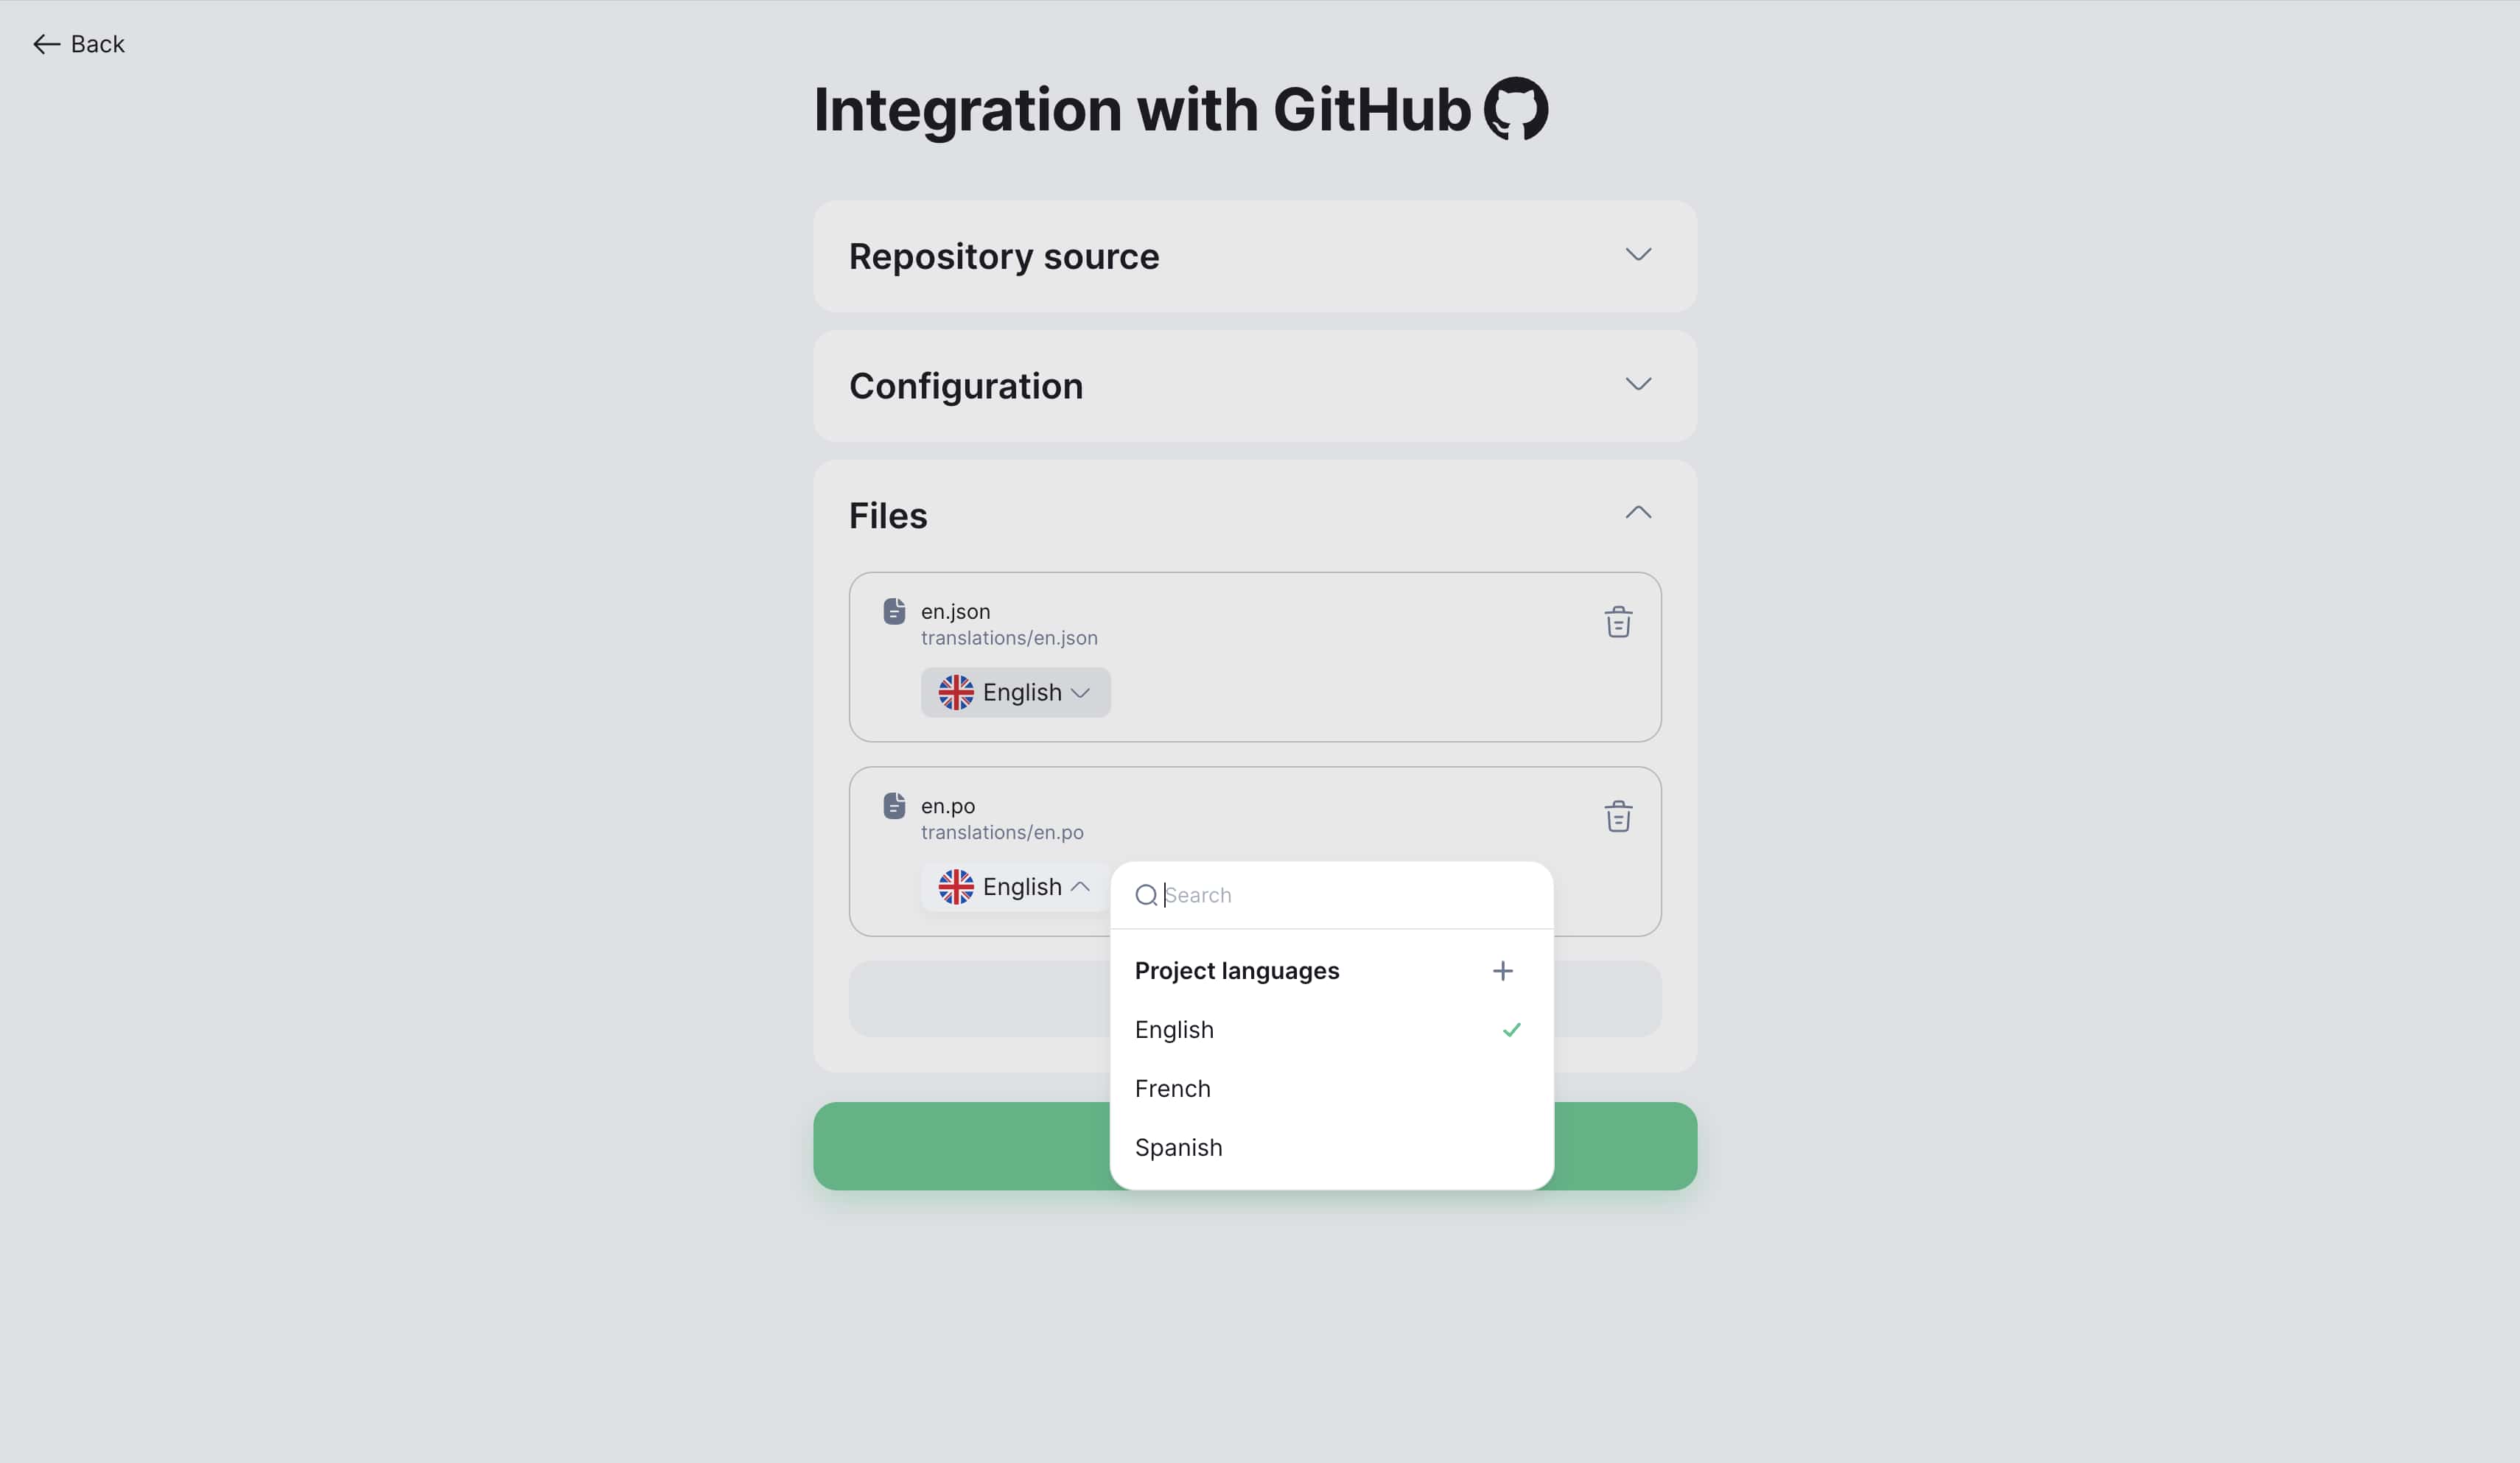
Step 3: Configure languages
-
Specify corresponding language for each file
-
System automatically detects language by file path
-
Correct automatic detection if needed
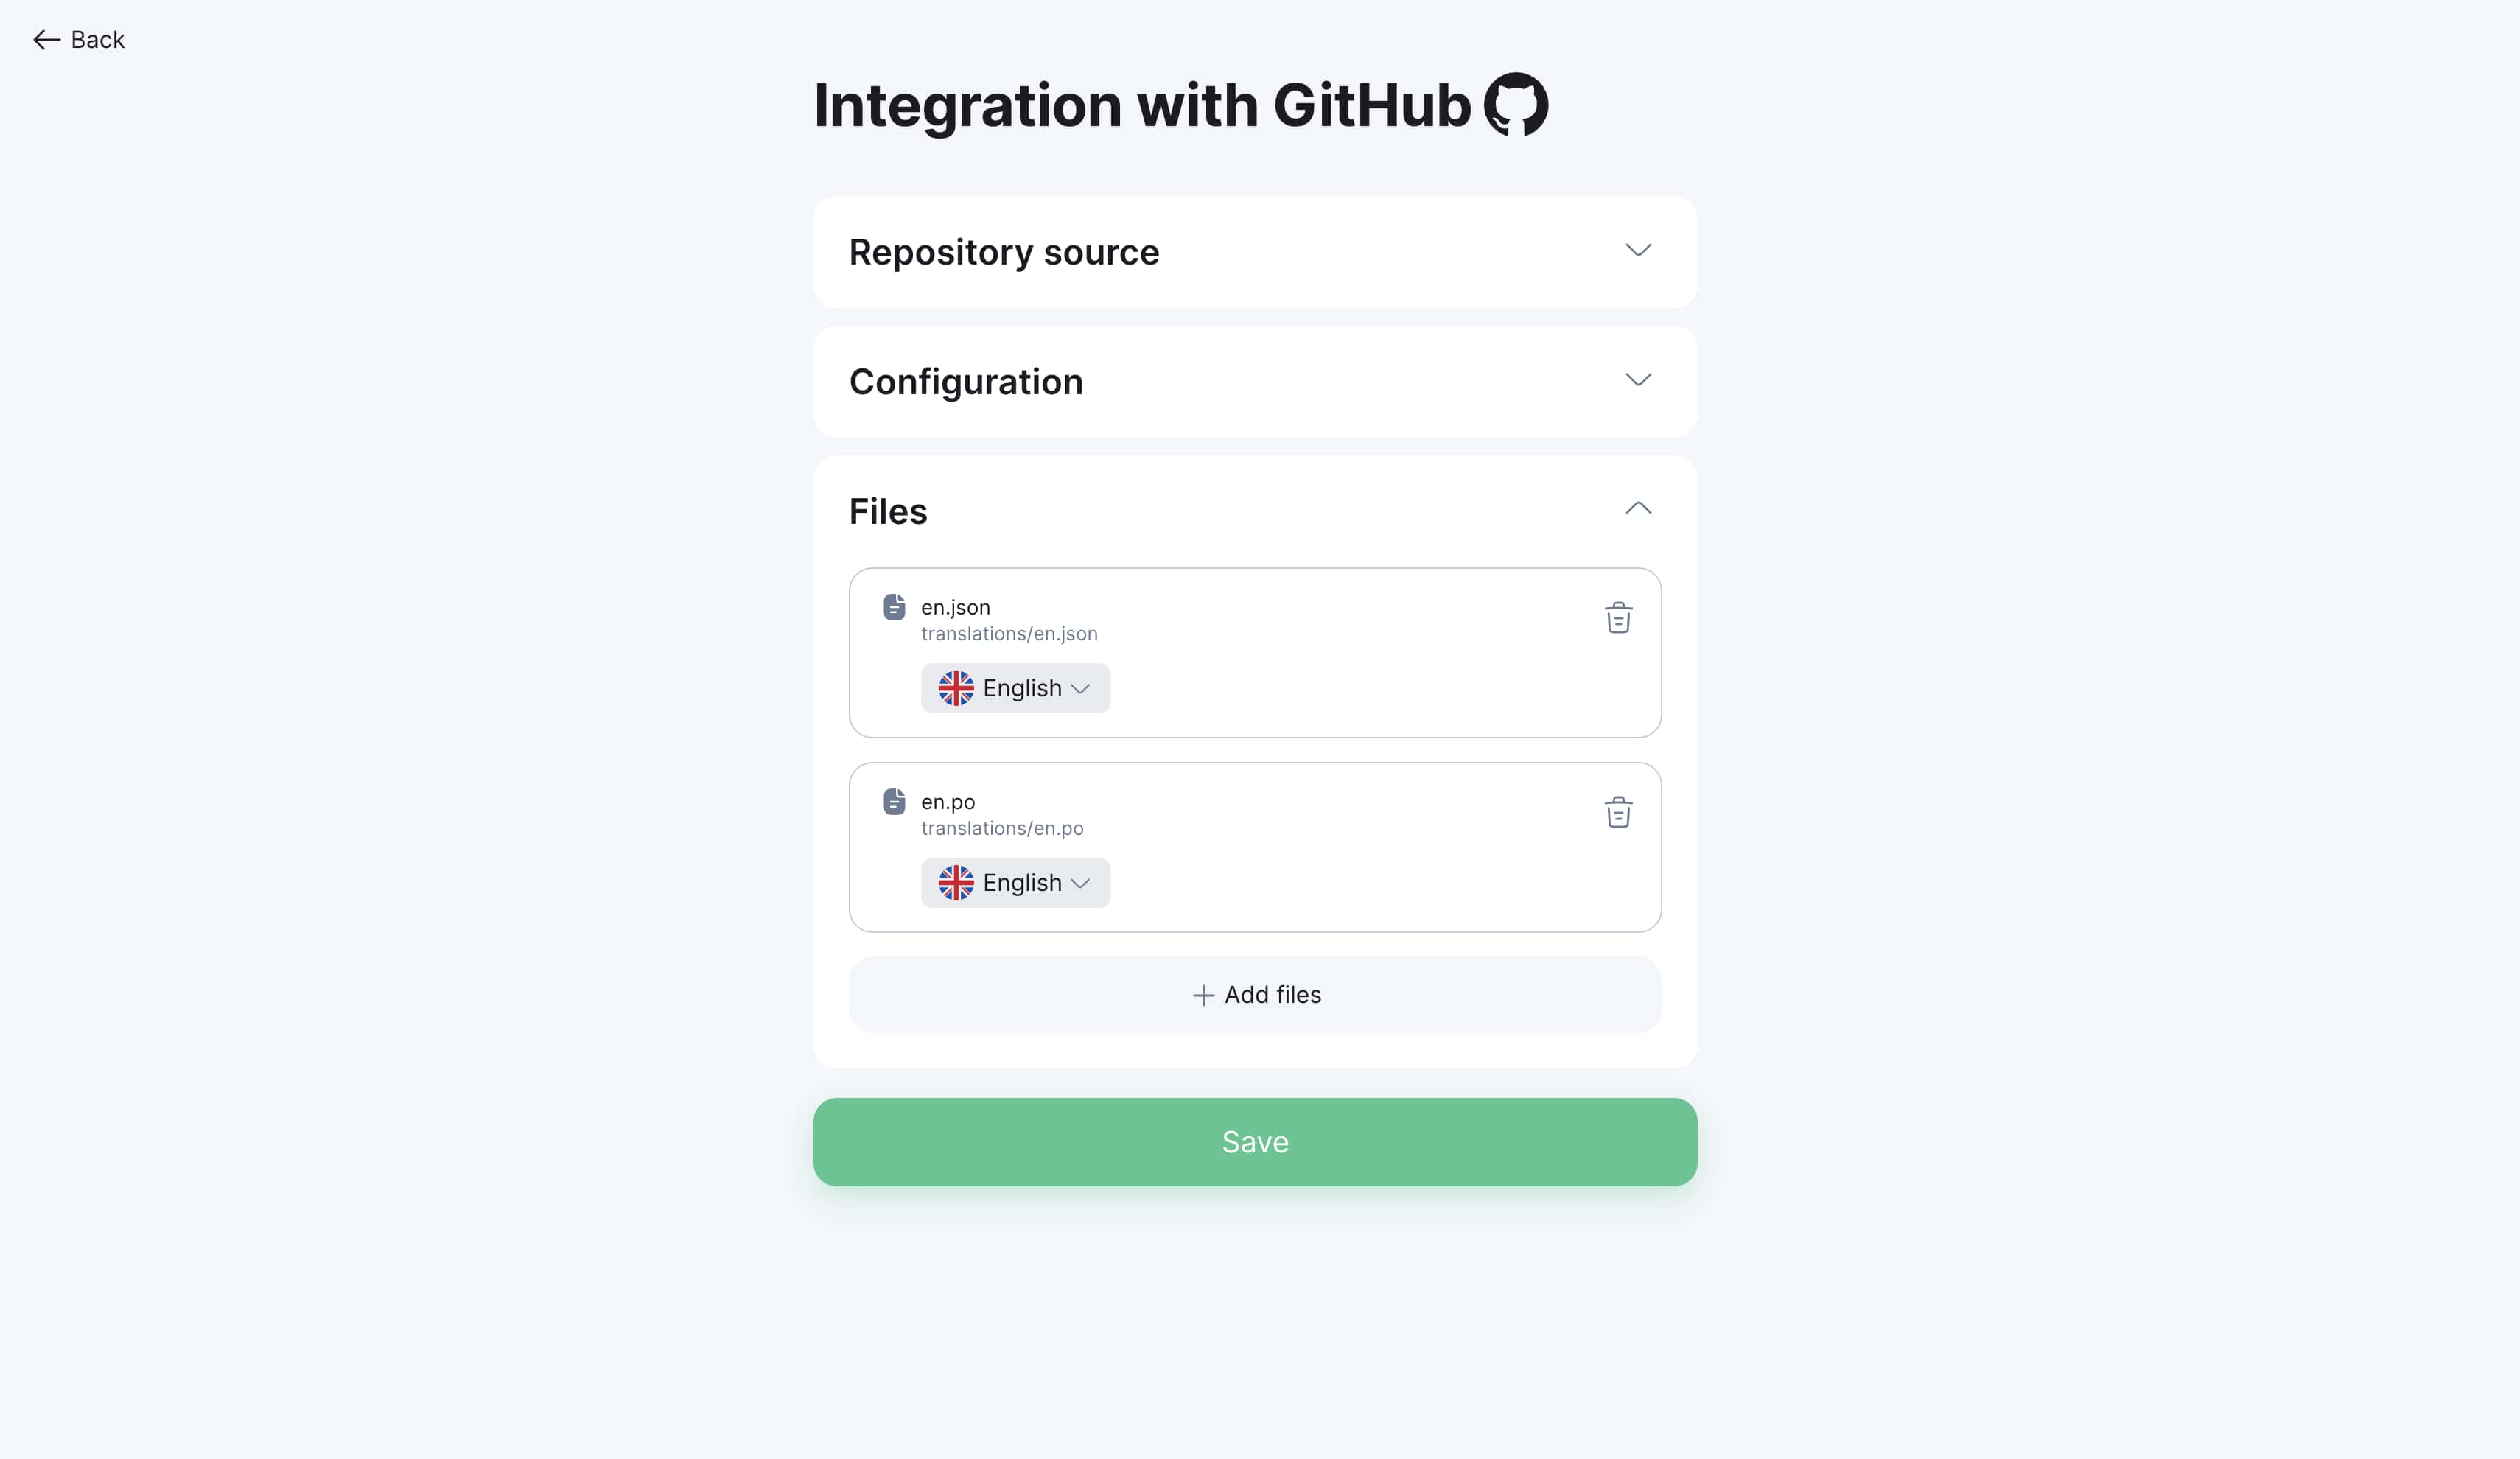
Step 4: Save configuration
-
Review all settings
-
Click "Save"
-
Integration will be configured and ready to use
Initial localization setup
Important for new projects
If you haven't translated your project to other languages yet, follow this workflow:
Step 1: Create empty localization files
-
Create empty localization files in your GitHub repository
-
Follow folder structure for your platform:
For iOS:
en.lproj/Localizable.strings
es.lproj/Localizable.strings
fr.lproj/Localizable.strings
For Android:
values/strings.xml
values-es/strings.xml
values-fr/strings.xml
For Web:
locales/en.json
locales/es.json
locales/fr.json
Step 2: Connect integration
-
Set up GitHub integration as described above
-
Connect created files to project
-
Perform initial Pull to load structure
Step 3: Translate keys
-
Translate necessary keys using translation editor
-
Or order automatic translation through AI services
-
Review translation quality
Step 4: Send to GitHub
-
Perform Push to send translations to repository
-
Verify files updated in GitHub
-
Test localization in application
Pull requests (Import from GitHub)
Initiating Pull request
-
Go to project "Integrations" section
-
Find connected GitHub repository
-
Click "Pull" button

Within seconds project will be updated - all keys from GitHub will be loaded into your Localit.io project
Parameter configuration: Pull request parameters correspond to manual file upload parameters. Details in File Upload Guide.
Automatic synchronization with GitHub
Function: Project automatically updates when repository changes Requirements: Webhook permission when creating token Benefits: Continuous synchronization without manual intervention

Push requests (Export to GitHub)
Initiating Push request
-
Go to project "Integrations" section
-
Find connected GitHub repository
-
Click "Push" button

Within seconds repository will be updated - all translations from Localit.io will be sent to your GitHub repository
Parameter configuration: Push request parameters correspond to manual file download parameters. Details in File Download Guide.
Troubleshooting
Token issues
Token not working:
-
Check token expiration date in GitHub Settings
-
Ensure correct copying (no extra spaces)
-
Verify token permissions
Insufficient permissions:
-
Return to token settings in GitHub
-
Add missing permissions
-
Regenerate token if necessary
Repository issues
Repository not displayed:
-
Ensure token has repository access
-
Check that repository is not archived
-
For private repositories ensure appropriate permissions
Files not synchronizing:
-
Check correct file path specification
-
Ensure files exist in specified branch
-
Verify file format matches expected
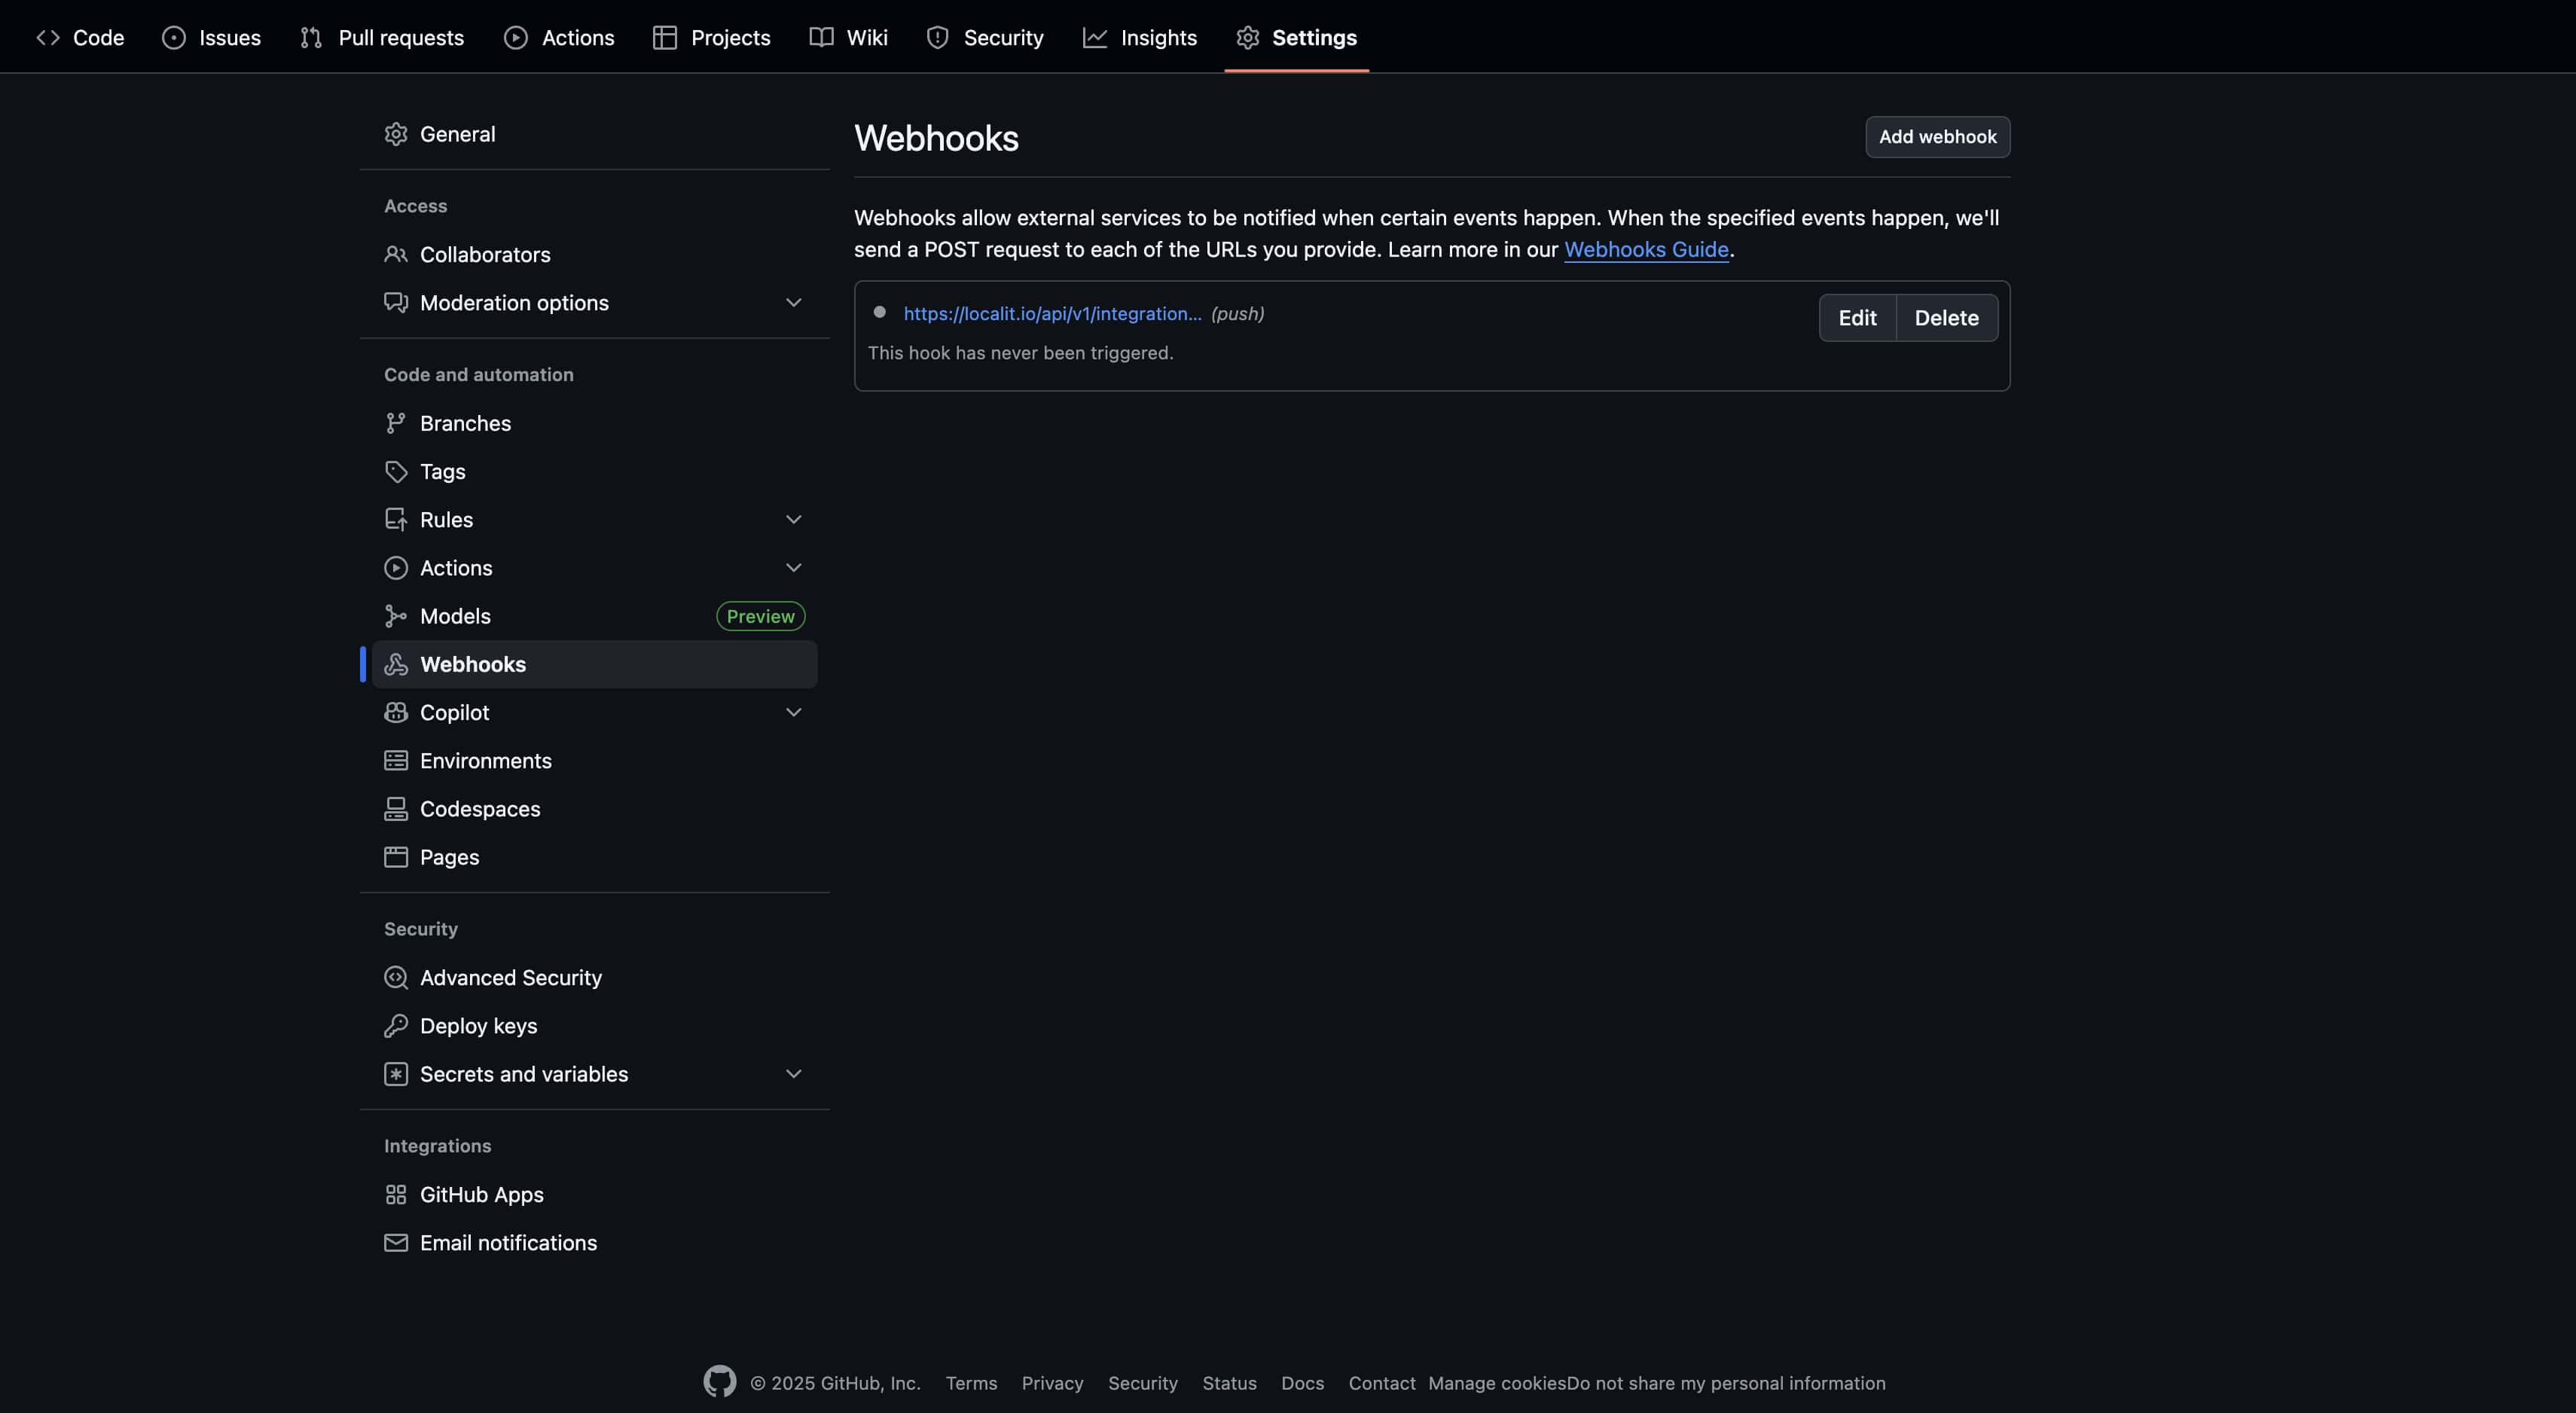
Webhook issues
Automatic synchronization not working:
-
Check webhook settings in GitHub repository
-
Ensure token has webhook management permissions
-
Verify webhooks not blocked by firewall
GitHub Enterprise specific issues
Enterprise connection problems:
-
Ensure correct Enterprise server URL
-
Check server network accessibility
-
Consult Enterprise administrator about security settings
Corporate policy restrictions:
-
Contact GitHub Enterprise administrator
-
Request necessary integration permissions
-
Clarify allowed external applications list
Best practices
Token security
Recommendations:
-
Use Fine-grained tokens instead of Classic
-
Set minimal necessary permissions
-
Regularly update tokens (every 90 days)
-
Remove unused tokens
Workflow organization
Branch strategy:
-
Use separate branch for localization
-
Configure automatic merge to main branch
-
Regularly synchronize changes
Change monitoring:
-
Set up Pull/Push operation notifications
-
Regularly check synchronization status
-
Maintain change logs for audit